Tutorial: Getting Started with Architect 3D
Architect 3D Tutorials
Wondering how to quickly draw a house in 3D? This tutorial shows you step by step how to design your floor plan with the user-friendly software Architect 3D.
Architect 3D includes the QuickStart Wizard. It allows you to configure your building project in real time and offers the option to QuickStart your project with individual parameters in just minutes. The following article explains how to make a sketch of your project (draw the plans, visualize the construction in 3D and work on the decoration of the interior) and how to proceed quickly with Architect 3D.
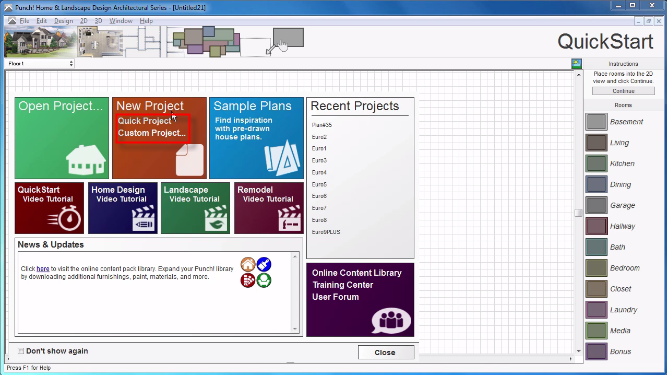
- By default, the QuickStart wizard starts automatically when the application launches. Click the Quick Project option in the New Project
- Drag and drop the objects on the right into the design and create your home layout with ease.
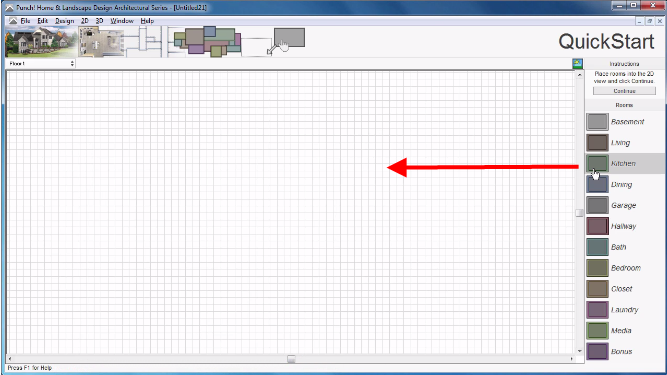
- Use the corners of each object to scale to the desired size.
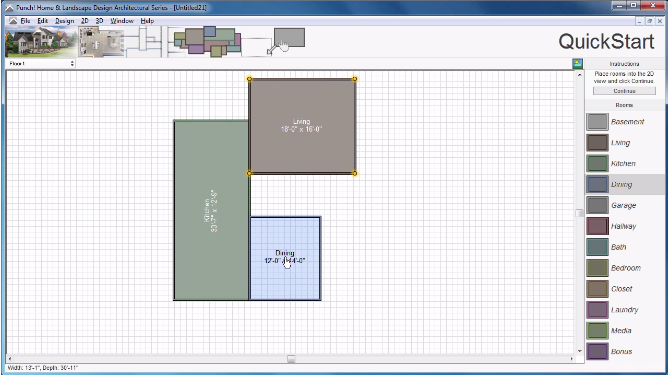
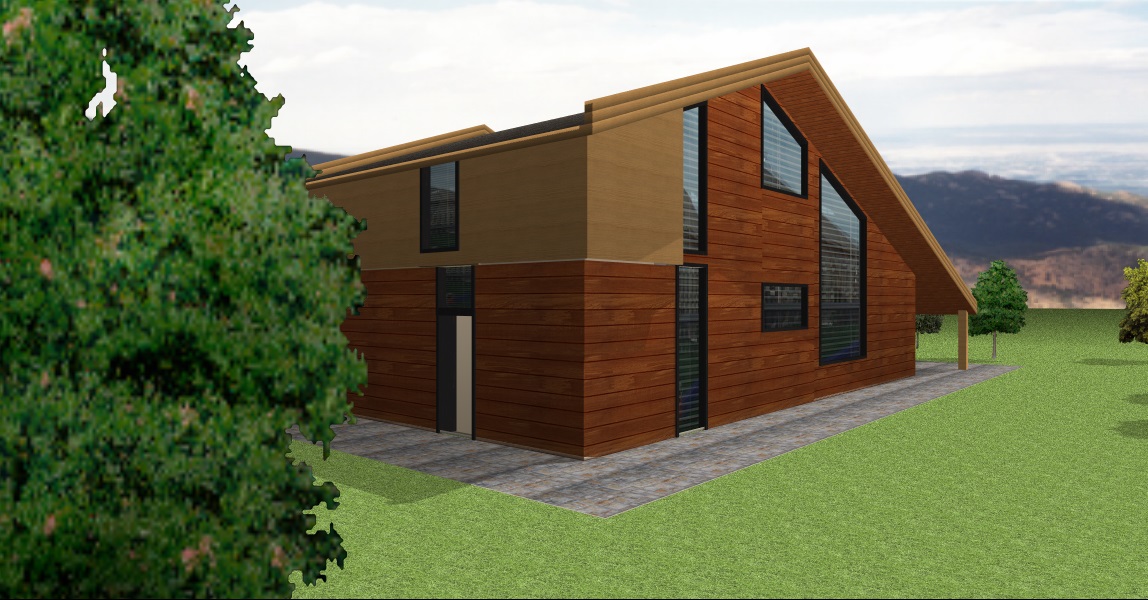
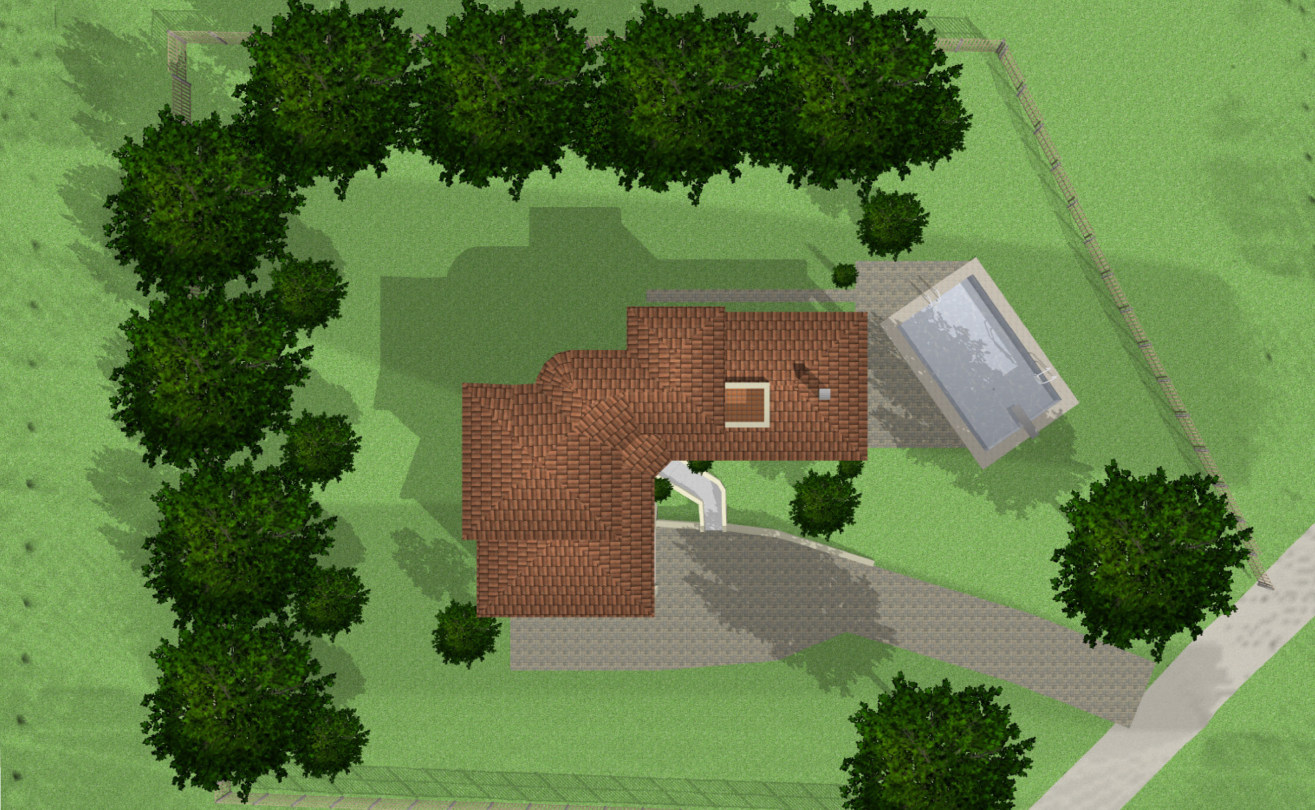
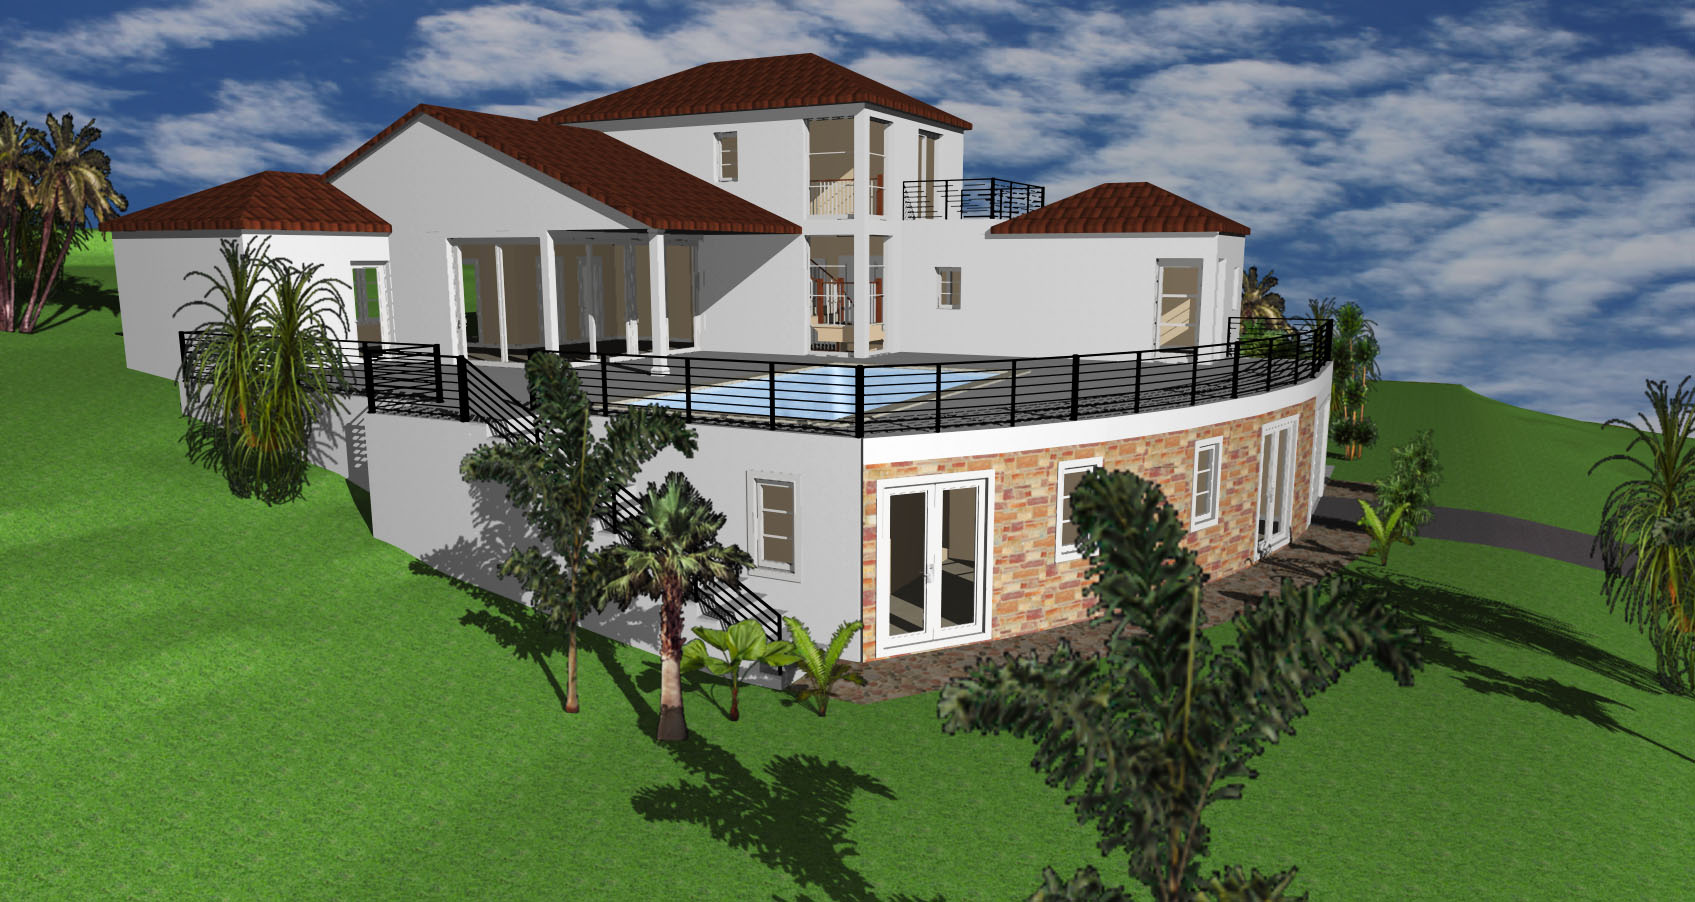
Click the 3D Preview button, to enjoy a preview of your home in 3D.
- Click Continue, after completing the configuration
Note: Hints are available to help you understand and control each tool/button quickly.
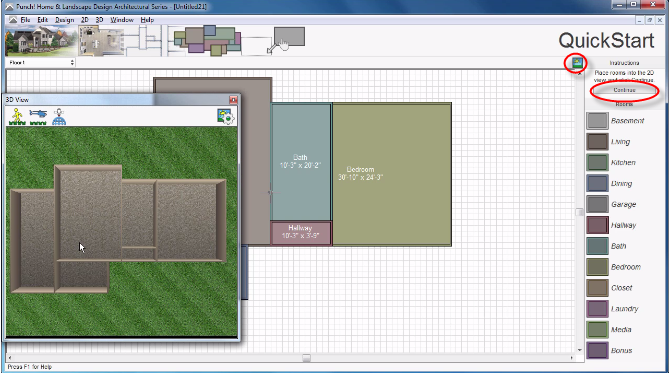
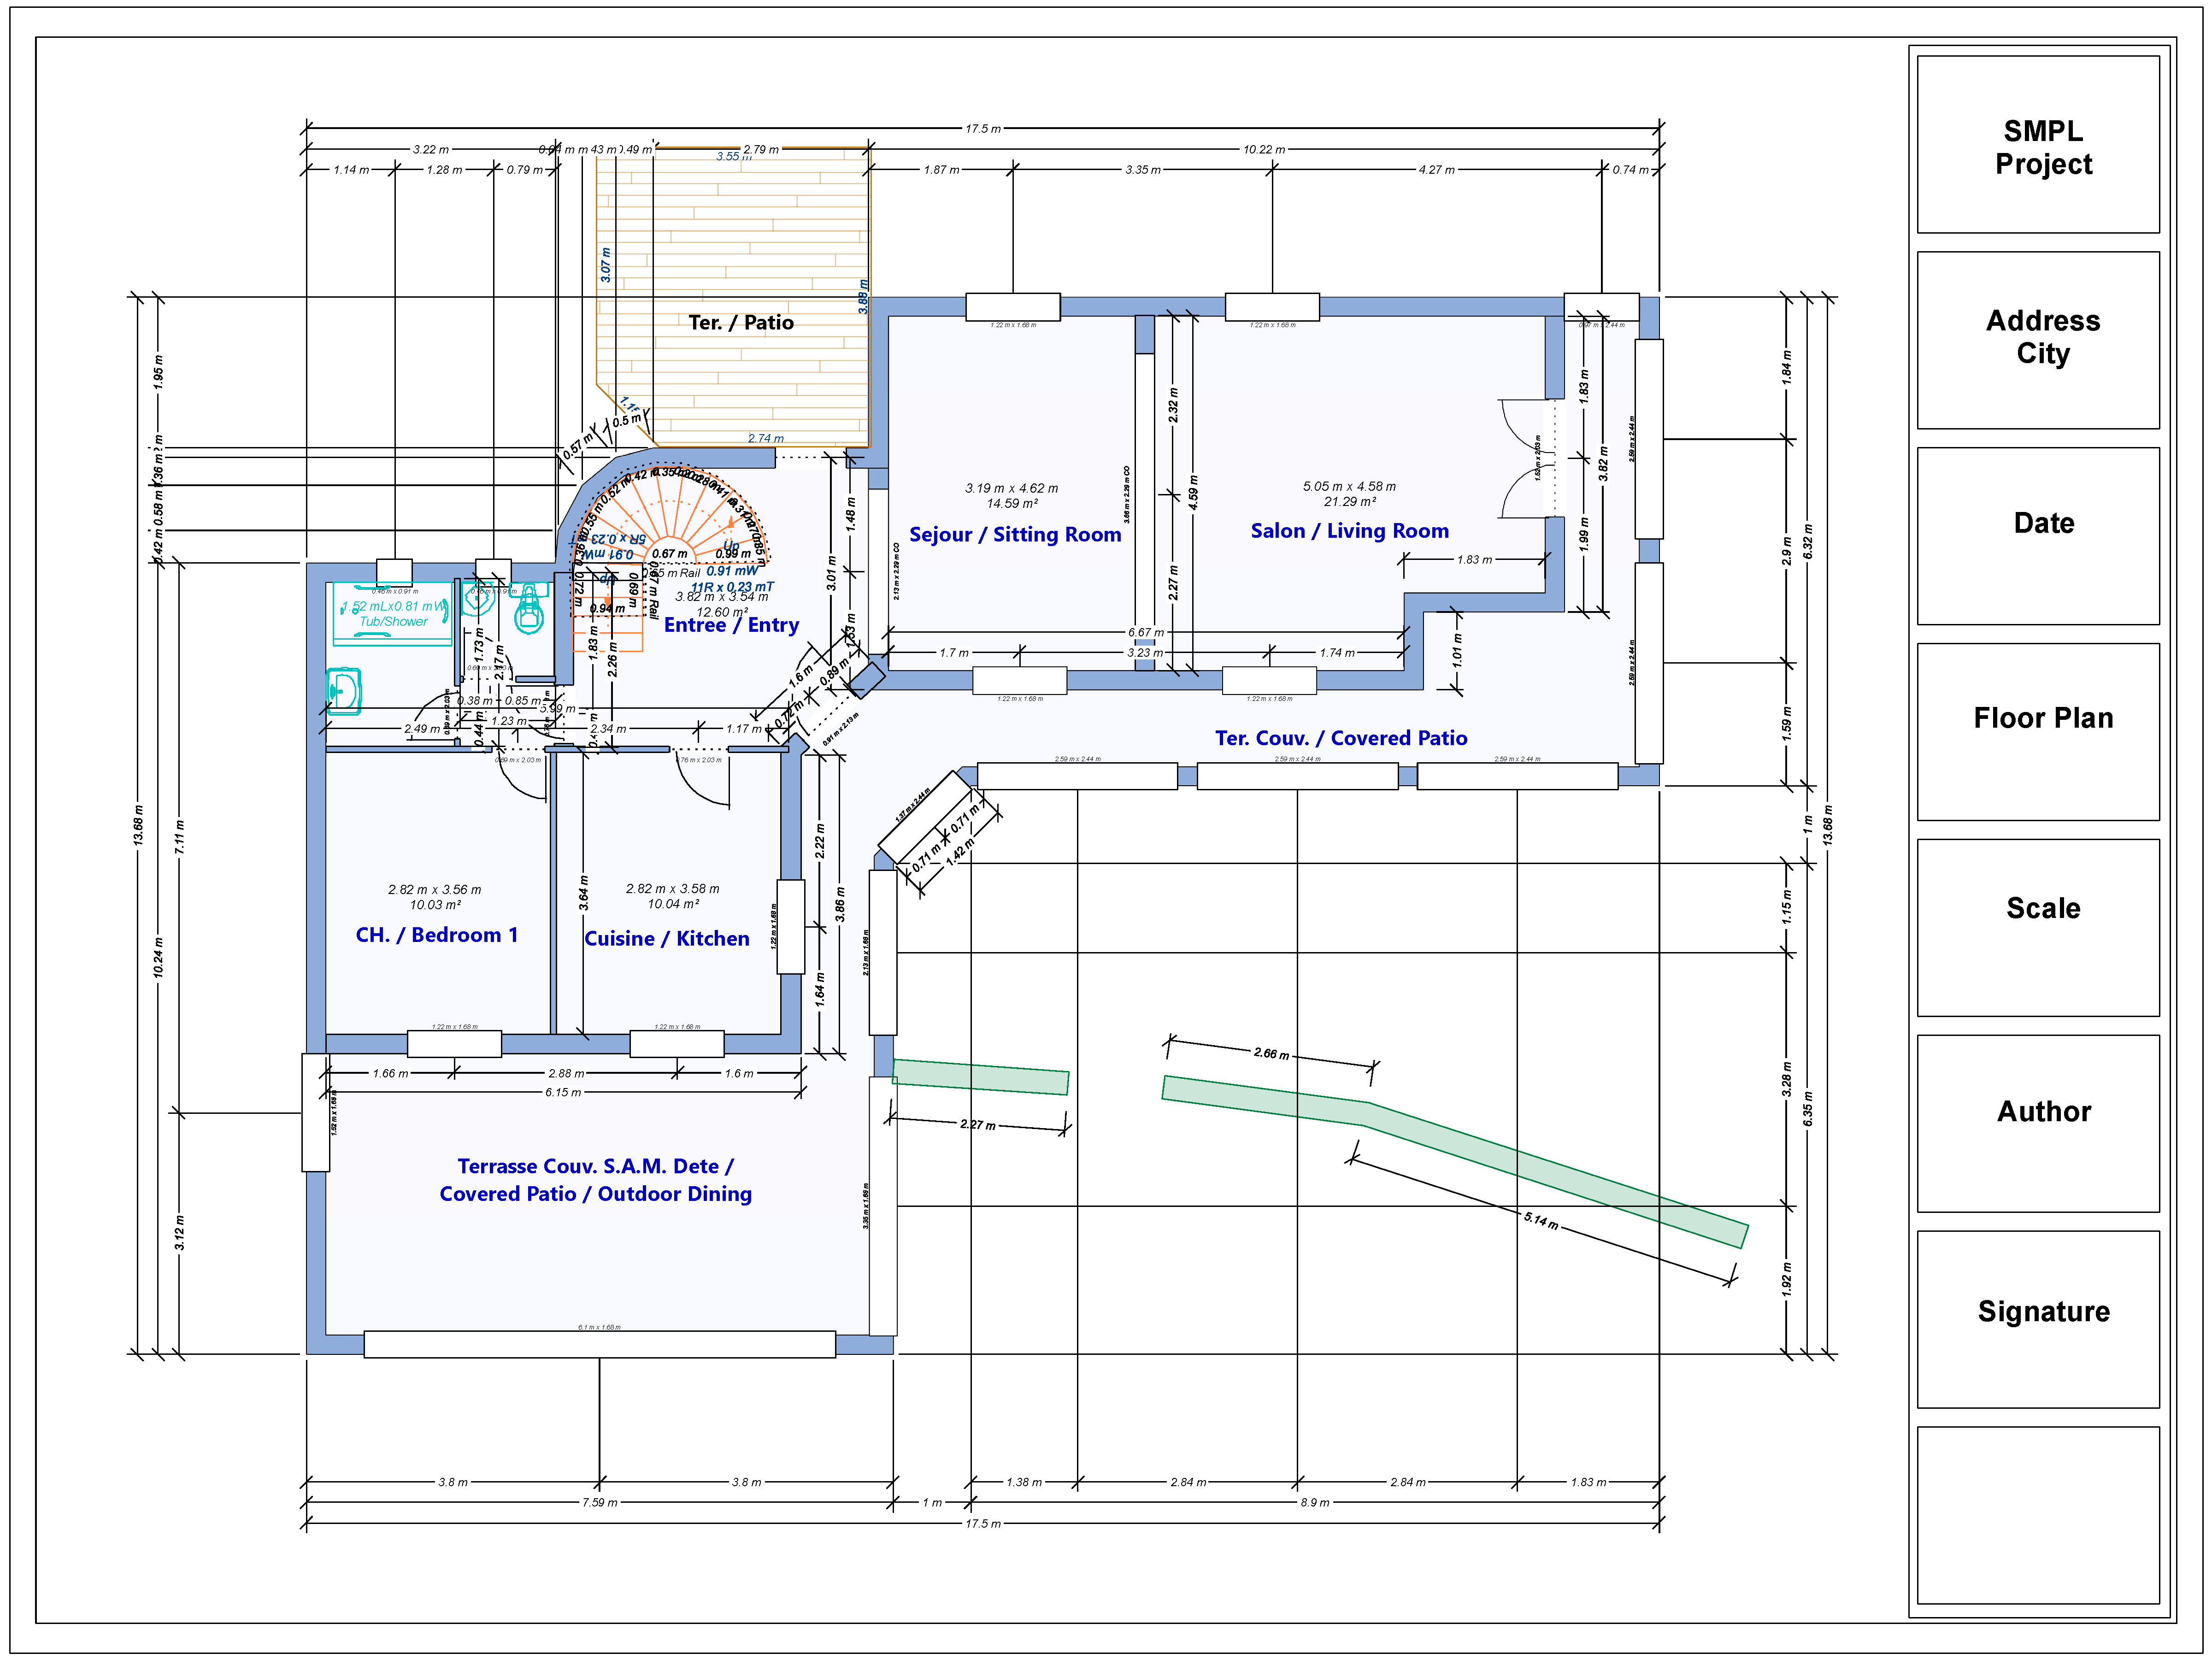
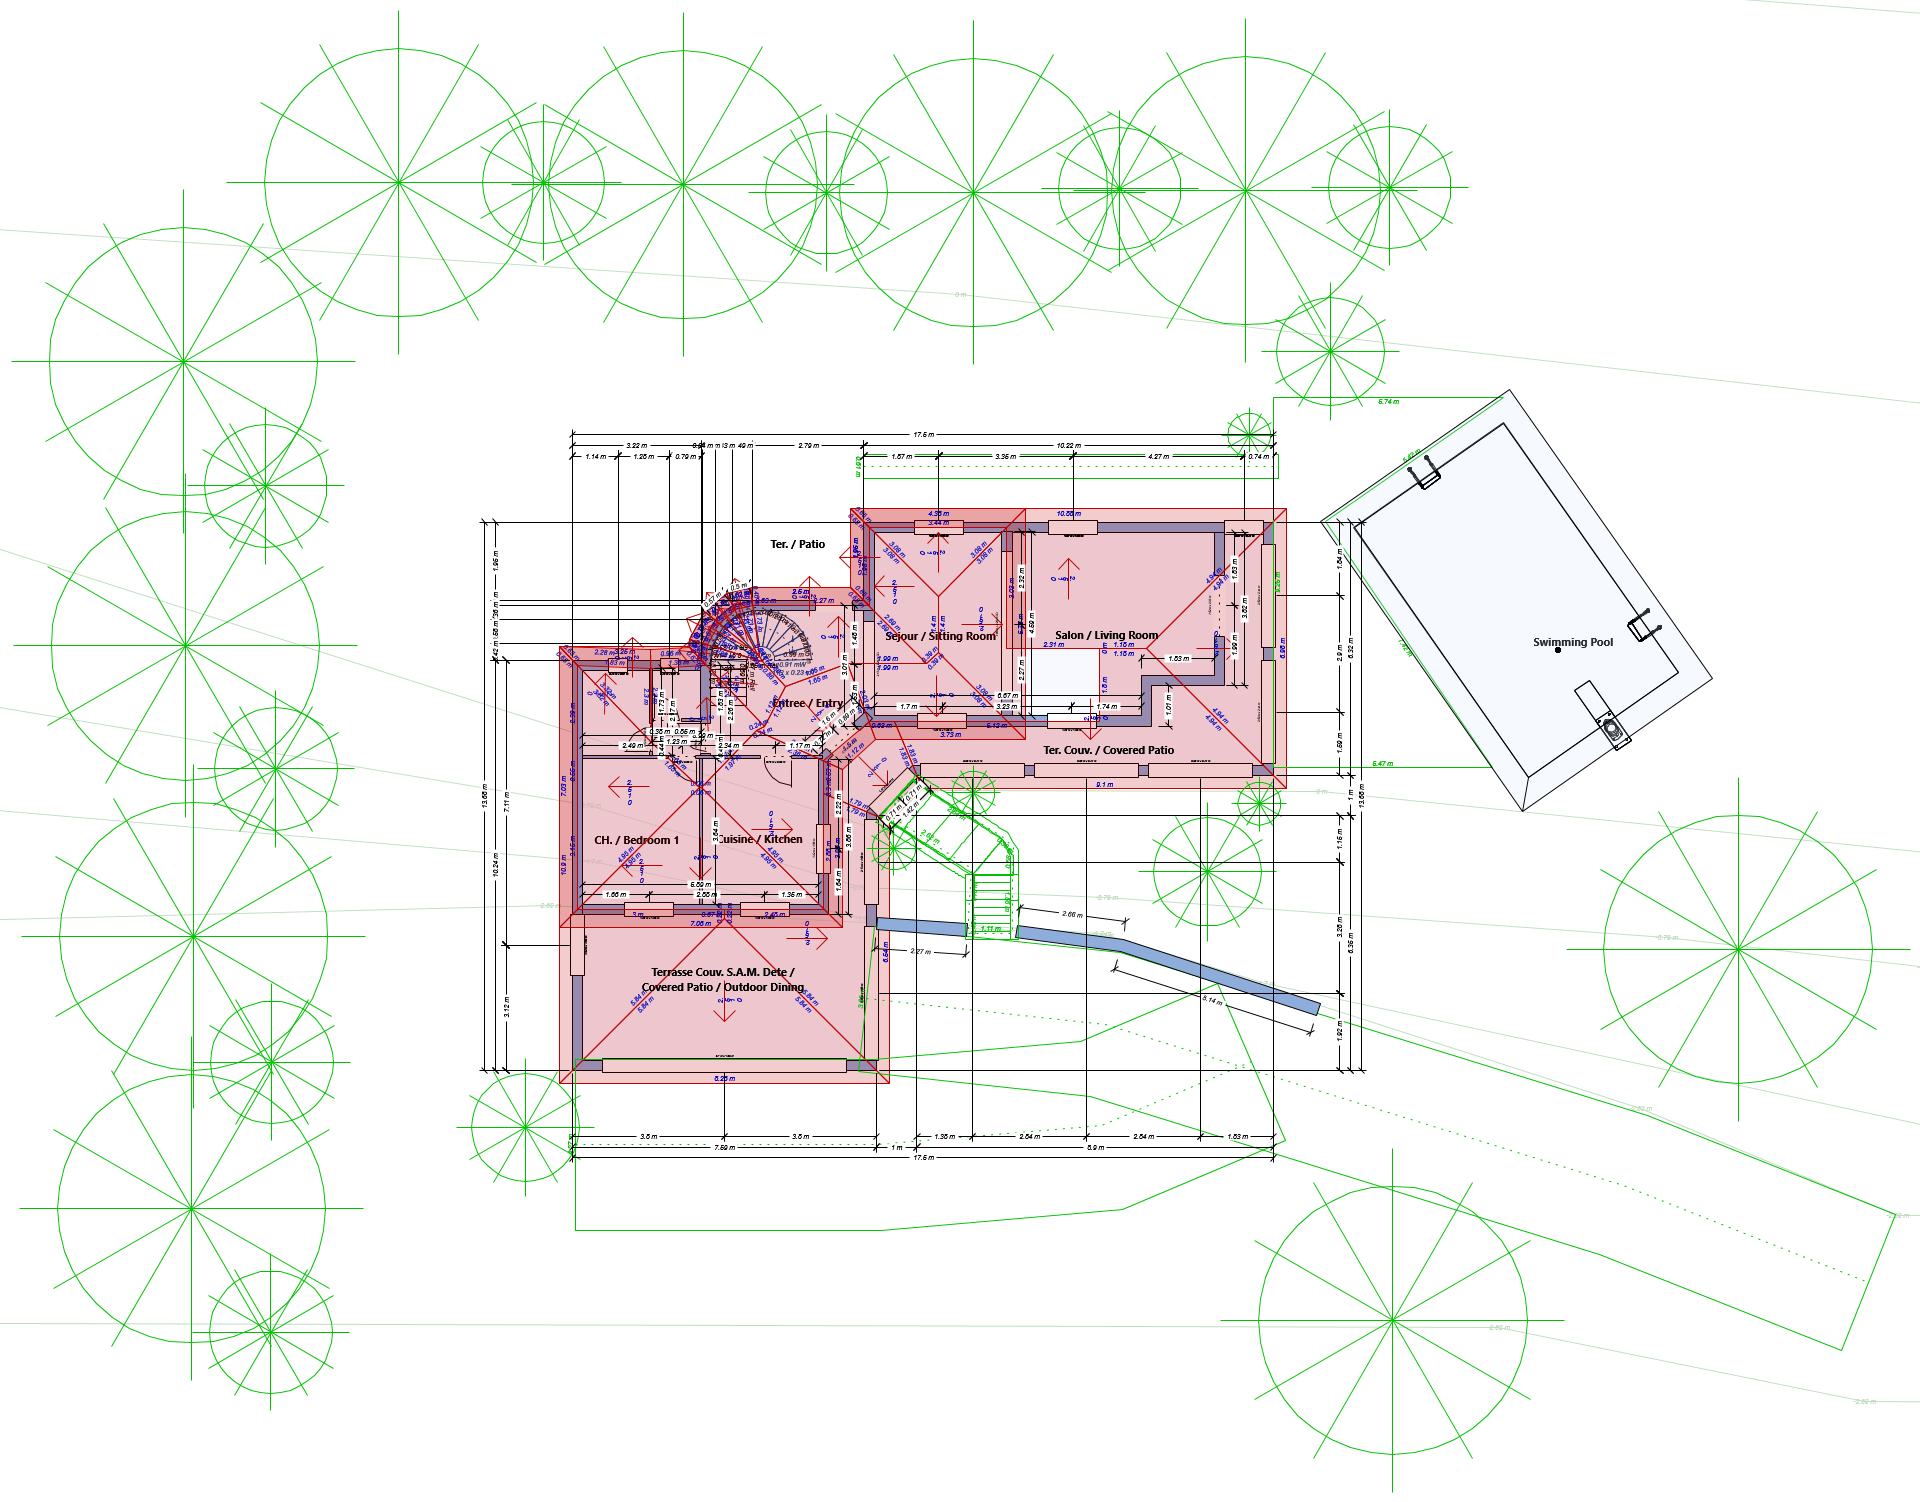
The ground plan you create will be displayed as a 2D drawing thereafter.
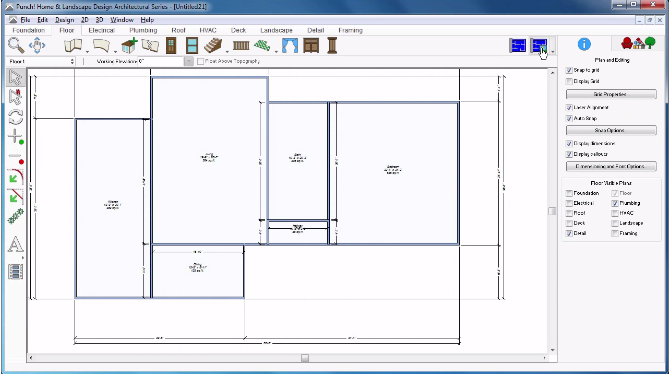
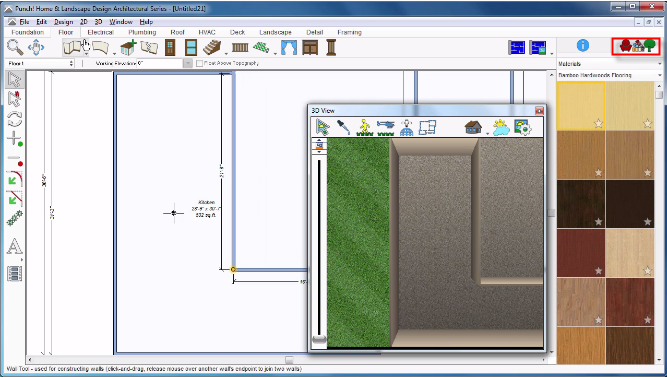
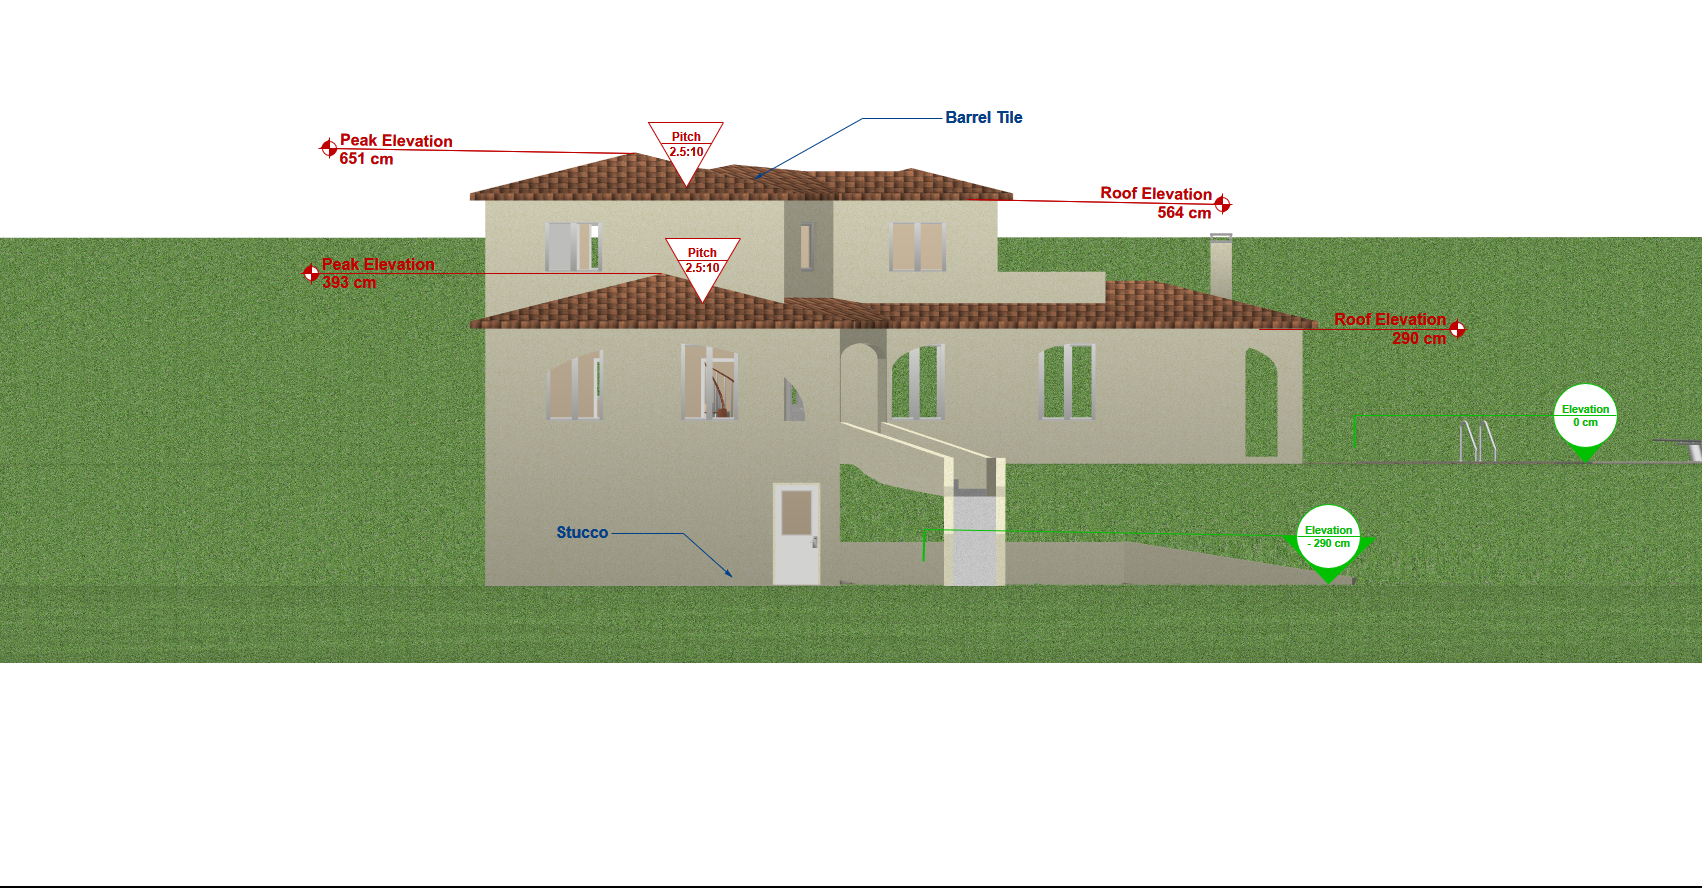
- Choose the 3D View window to display 2D and 3D views. You can work on the map while observing your changes in 3D and navigate within your project at any time.
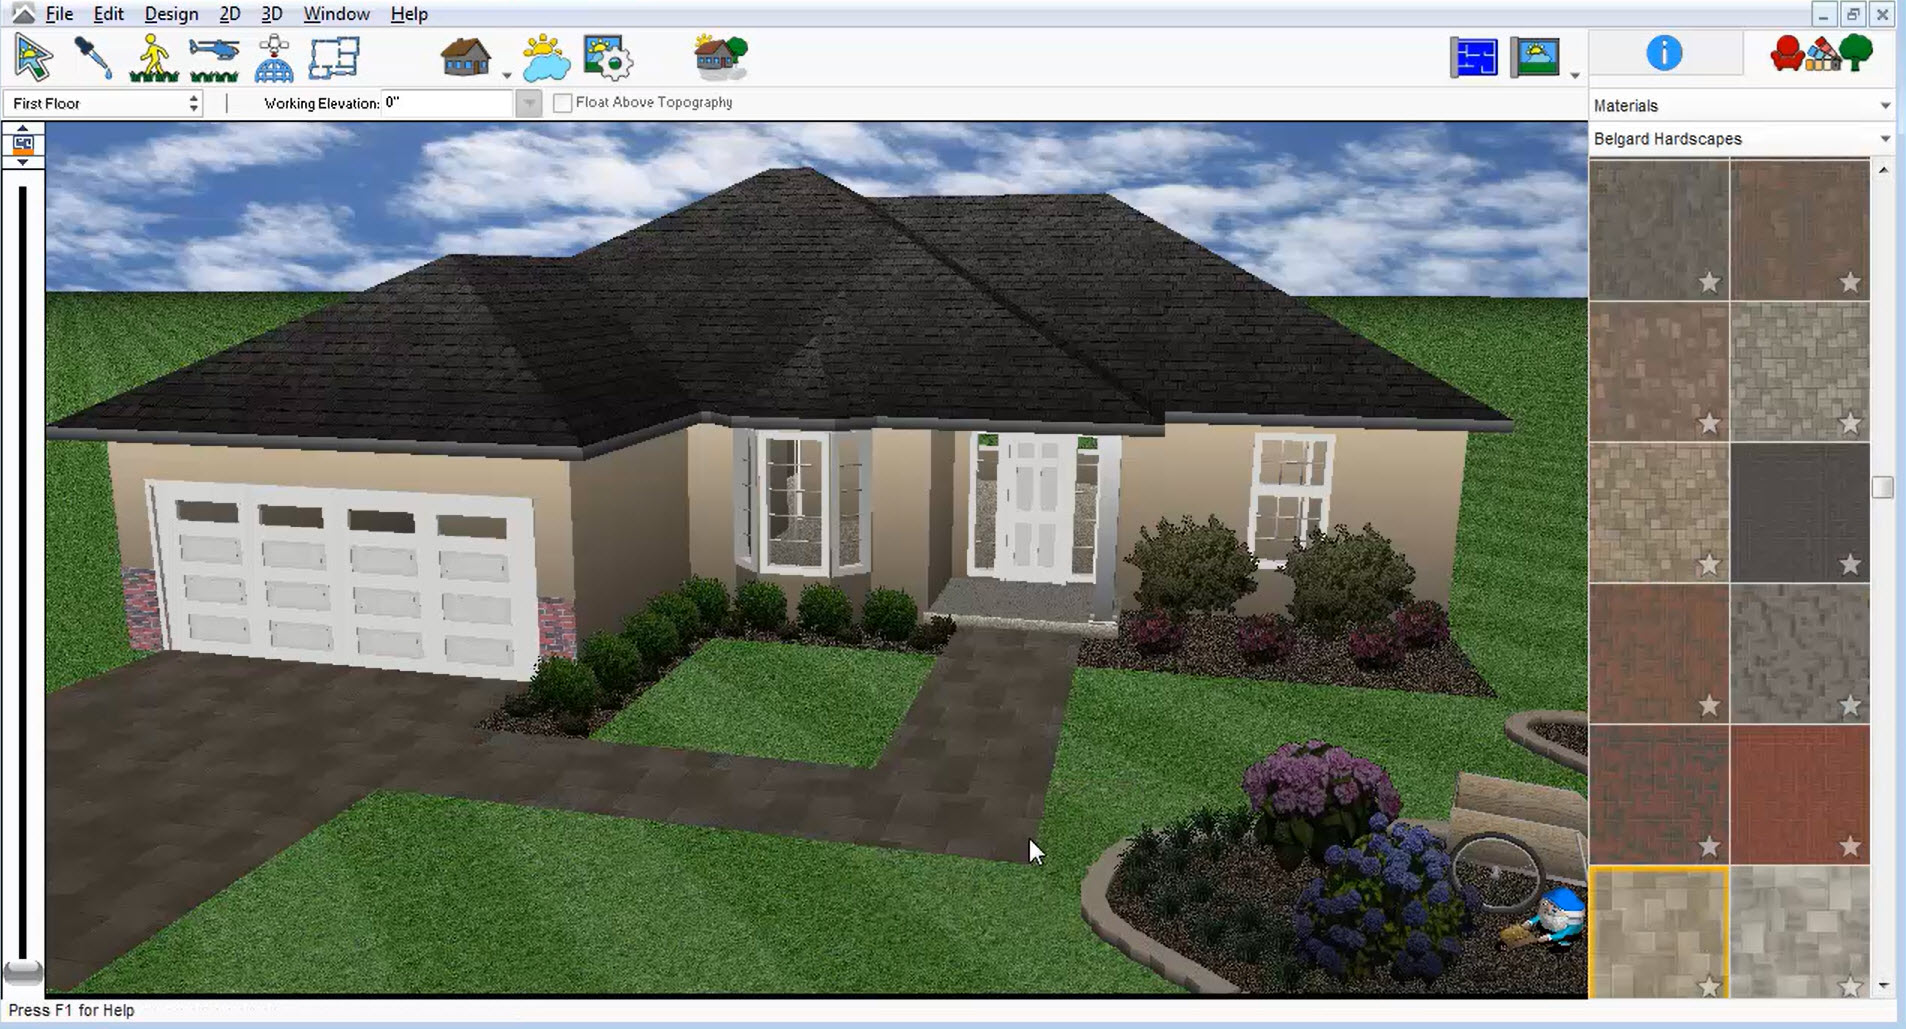
- Click the Animated Fly-Around button and hold down the left mouse button to move your pointer and rotate your design.
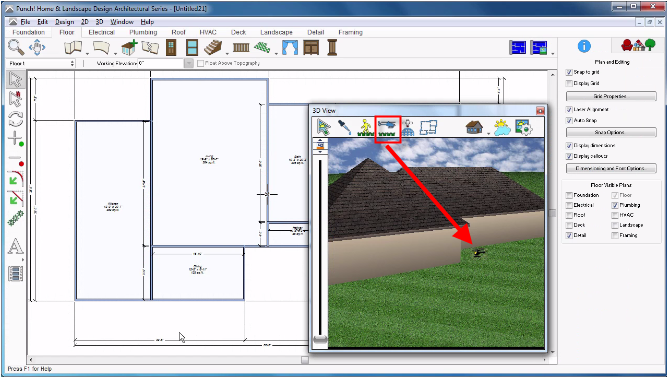
- To complete your project, 3D Architect allows you to add openings simply. Click on the Door tool then click on the plan to place your doors one by one.
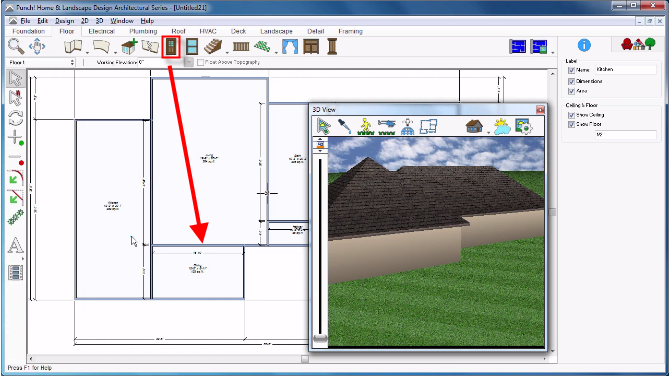
Repeat the same with the Window tool to position new windows easily.
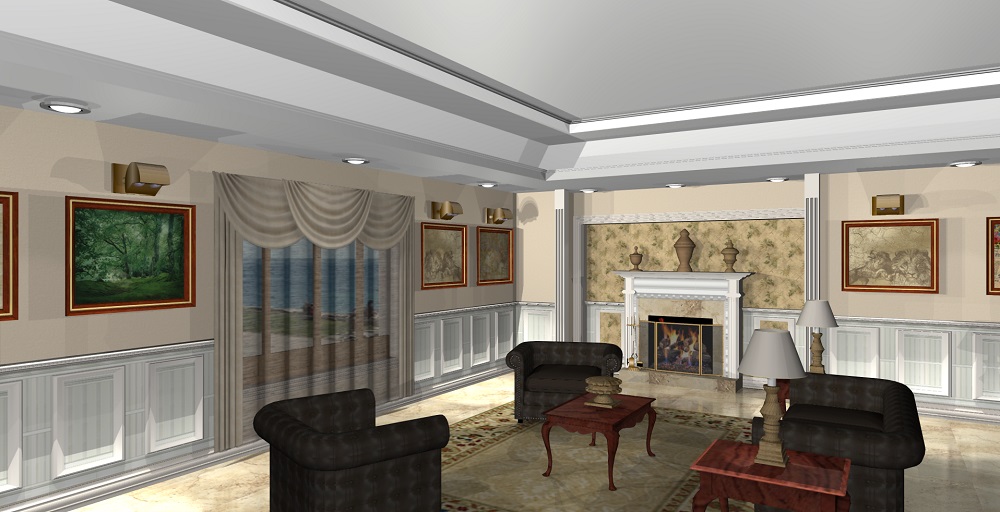
- You can then start designing the interior. Click on the Libraries tab and then in the drop-down menu on objects to display and choose paintings, floors, furniture and plants.
