How to Create a Roof Plan Using Architect 3D©
Architect 3D Tutorials
Complete your project designing and defining the settings of your Roof Plan
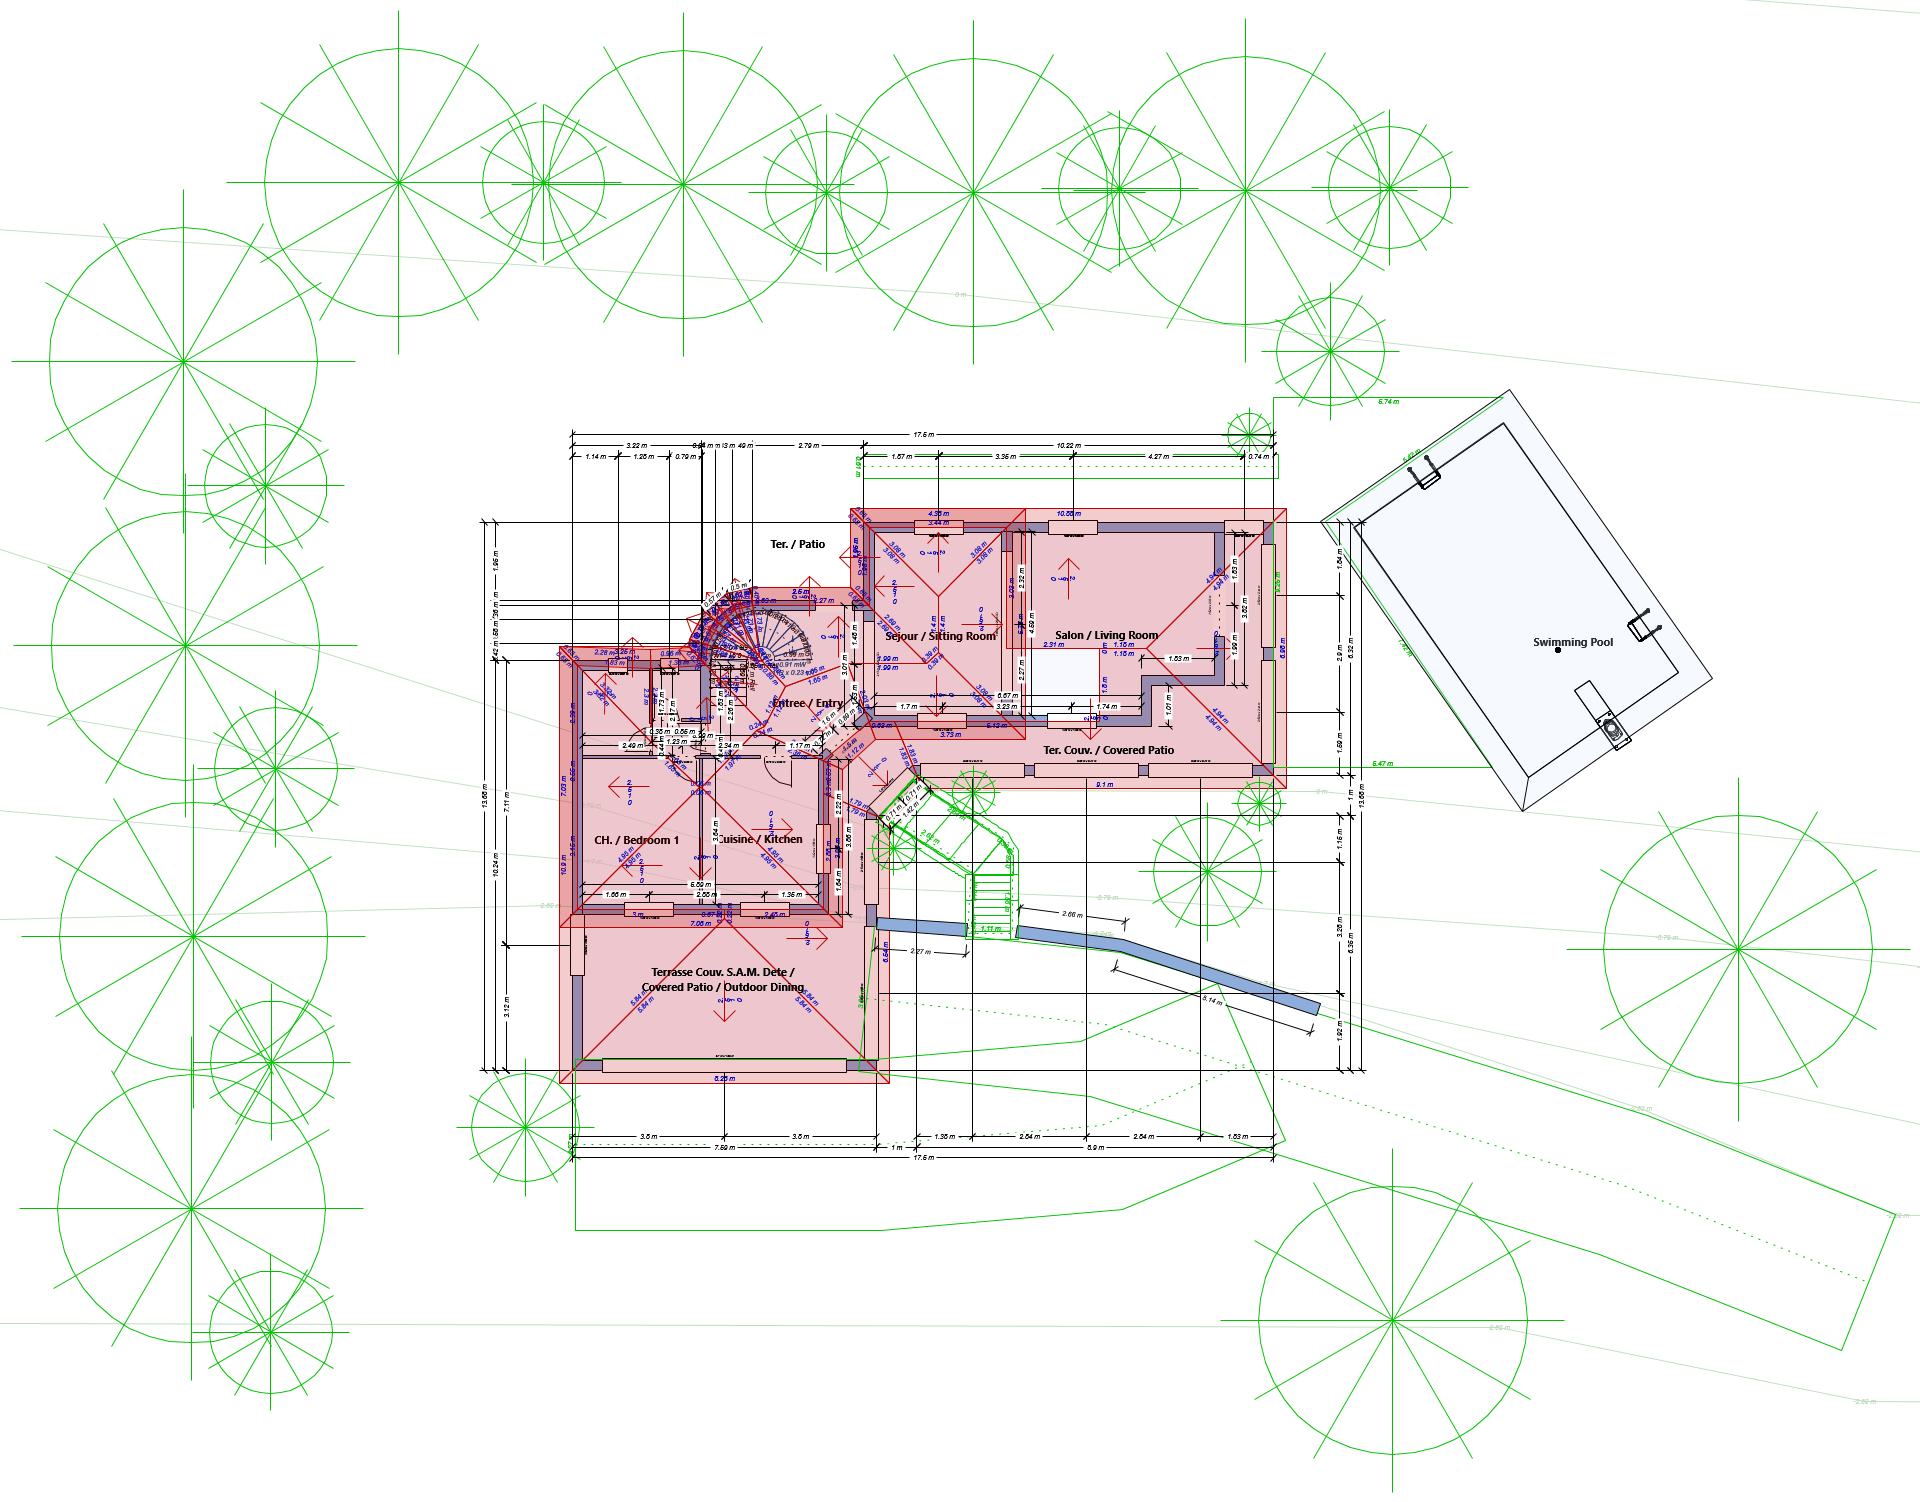
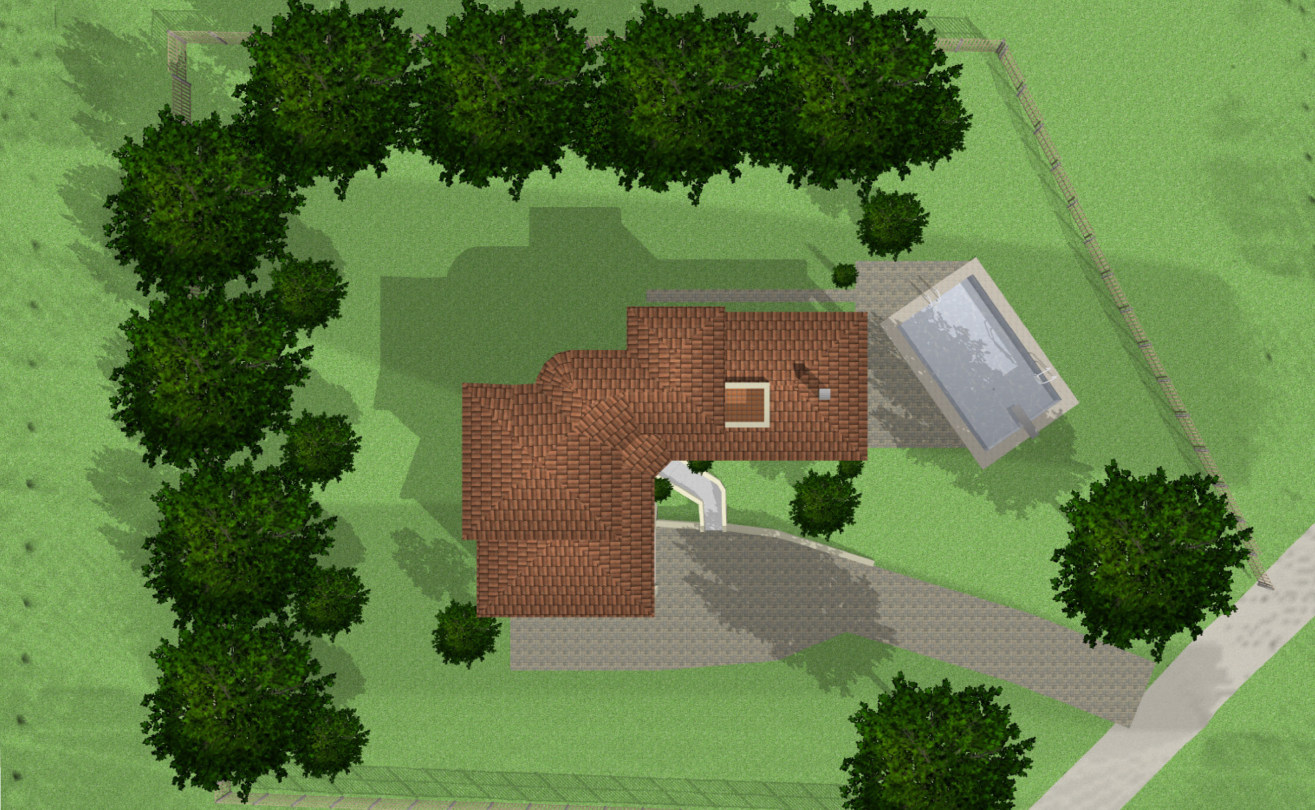
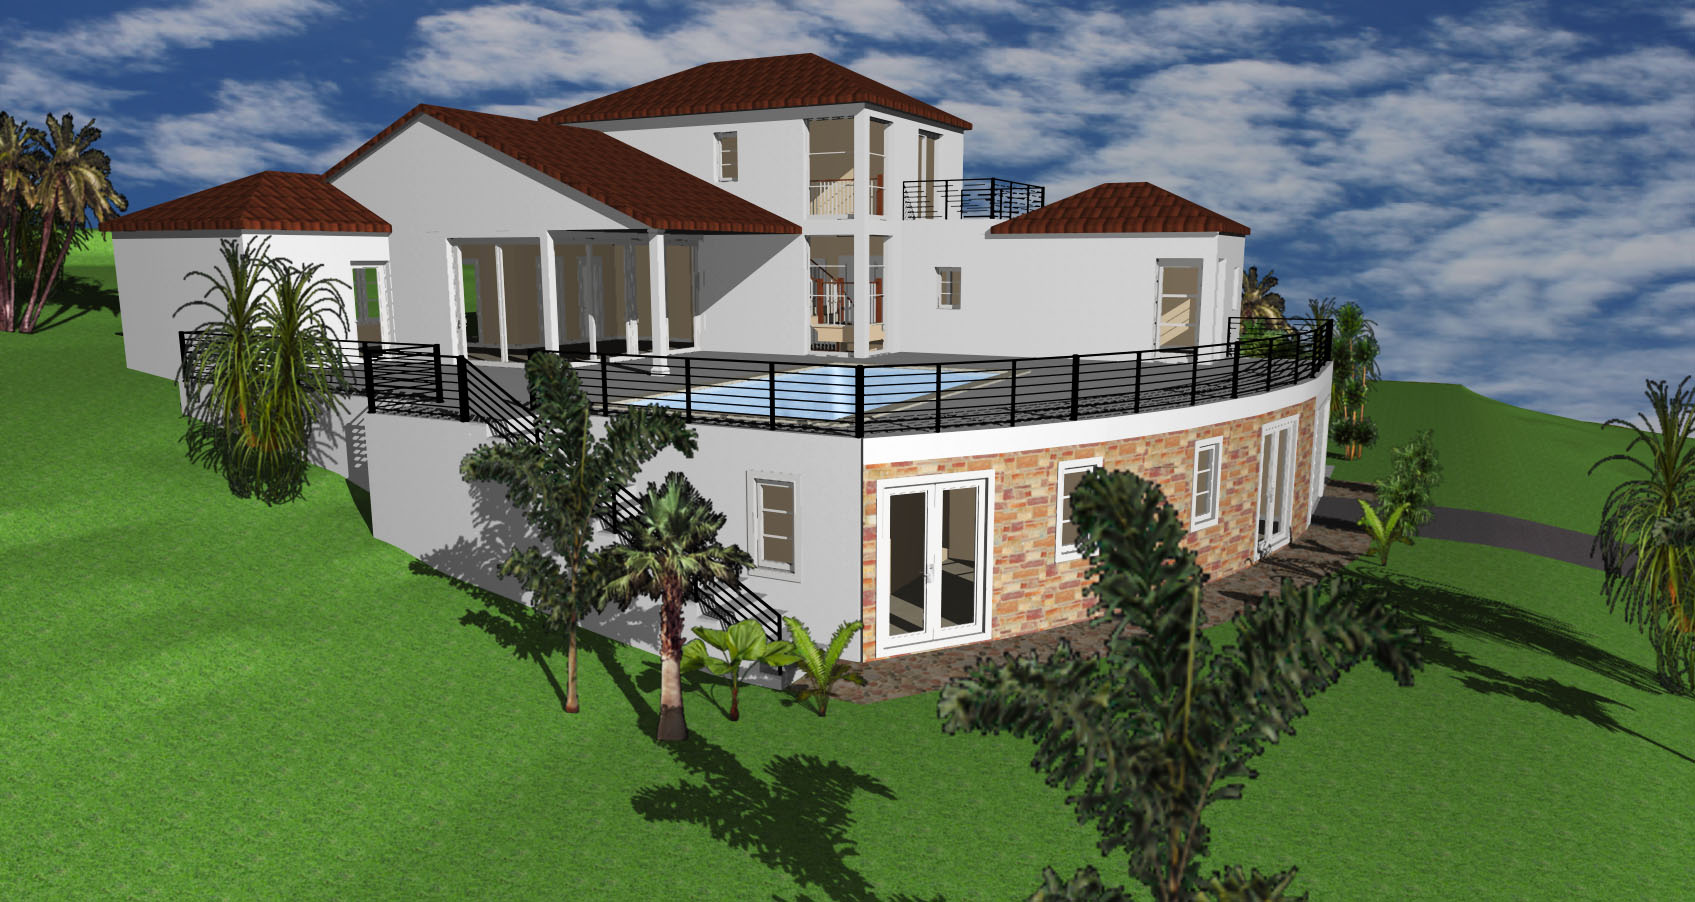
A Roof Plan is a scaled drawing showing the top view of the roof elements of a building.
The Roof Plans include different types of information (such as vents, chimneys, skylights, dormers, etc) depending on the permit requirements and the location of your property.
Once the walls of your project are complete, you can develop the Roof Plan.
Step 1: your Architect 3D program includes several roofs’ development tools to fit your necessities:
- Option 1: if you have a regular shaped Floor plan, in the Roof tab (outlined in red in the image below), click on the first icon (outlined in green in the image below). The drop-down menu includes six ready to use roof shapes. Select the desired shape and extend it onto the plan (pointed with a blue arrow in the image below).
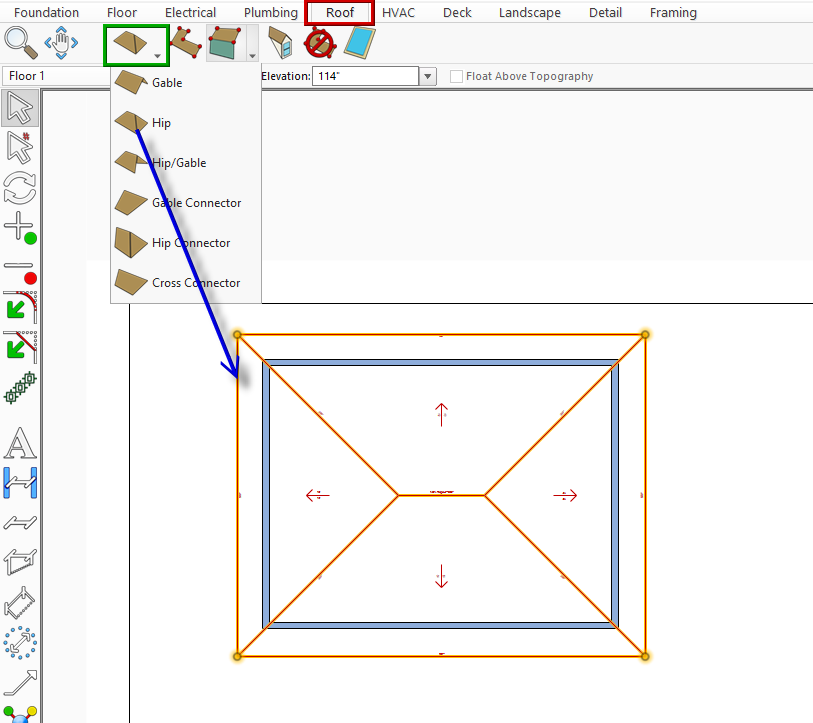
Note that the pieces generated with this option can’t be individually edited.
- Option 2: if you have a very irregular Floor Plan or irregular roof pieces, in the Roof tab (outlined in red in the image below), you can use the Freehand Roof Tool (outlined in blue in the image below). Selecting this tool, just outline the desired roof shape (pointed with a green arrow in the Image below).
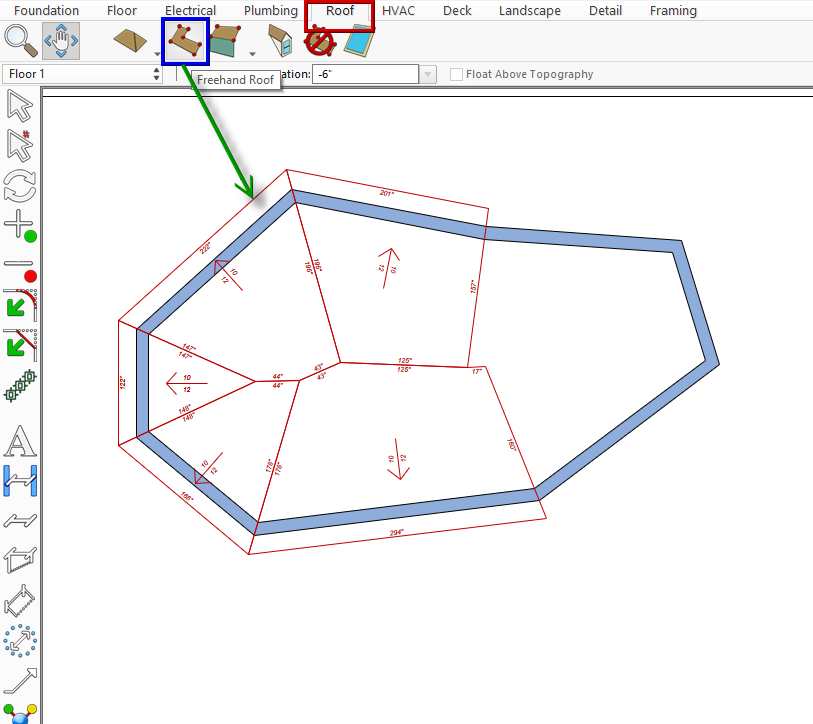 The pieces generated with this option can be individually edited.
- Option 3: in general terms, for any Floor Plan, your Architect 3D program includes the Auto Roof feature, that creates the full roof automatically.
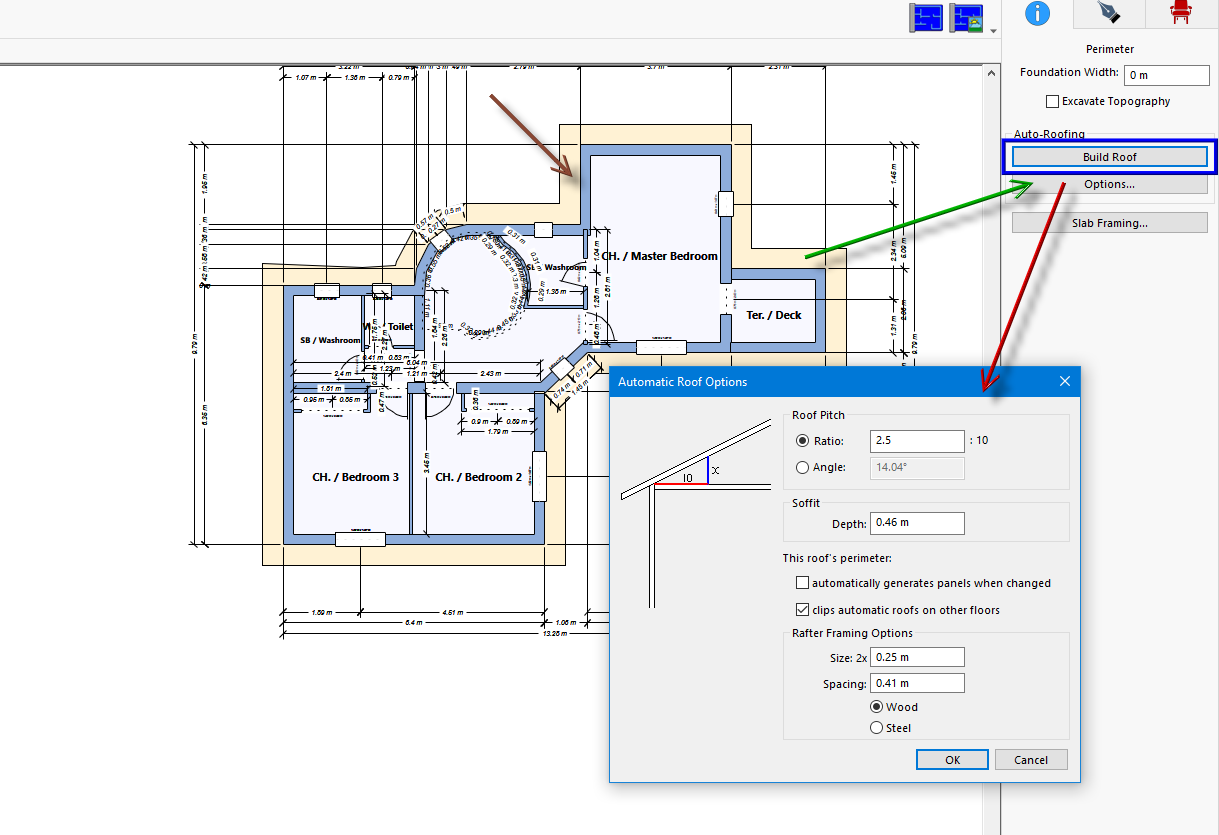
To create your roof, start by clicking on the exterior walls’ perimeter: you will see a yellow band. Click on this band and select the options (pointed with a red arrow in the image below). Define the ratio (pitch), the soffit depth as well as the structural settings.
Once the properties of the Auto Roof are defined, click on the “Build Roof” button (outlined in blue in the image below).
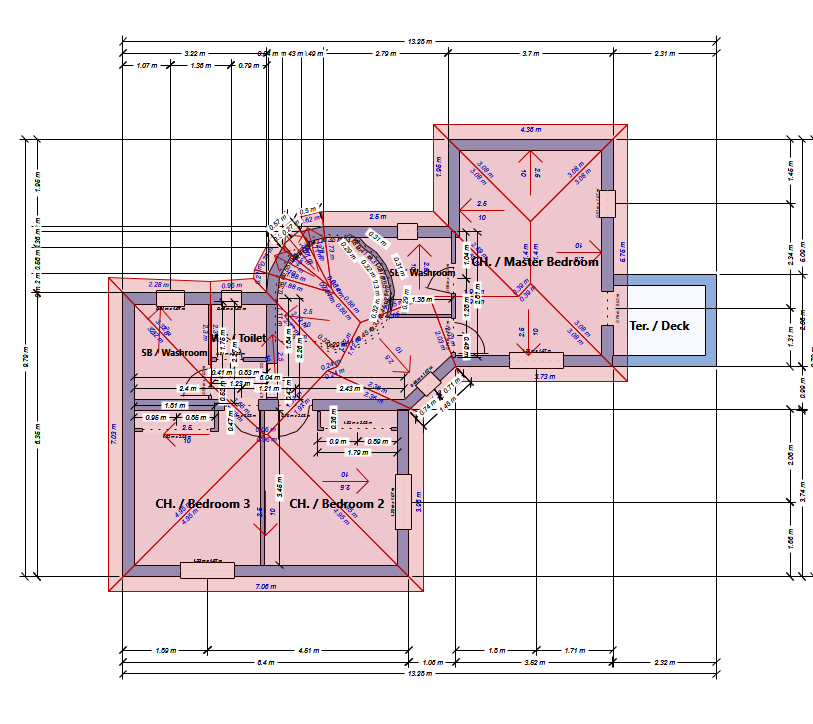
After you click the “Build Roof button, the roof will be ready. In the image below, you can see the roof for the second floor.
Step 2: if the building includes more than one level, the roofs must be defined separately for each floor.
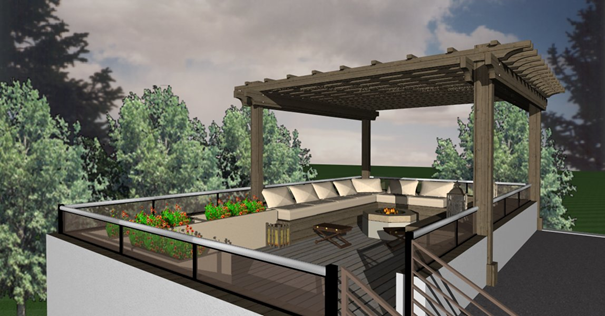
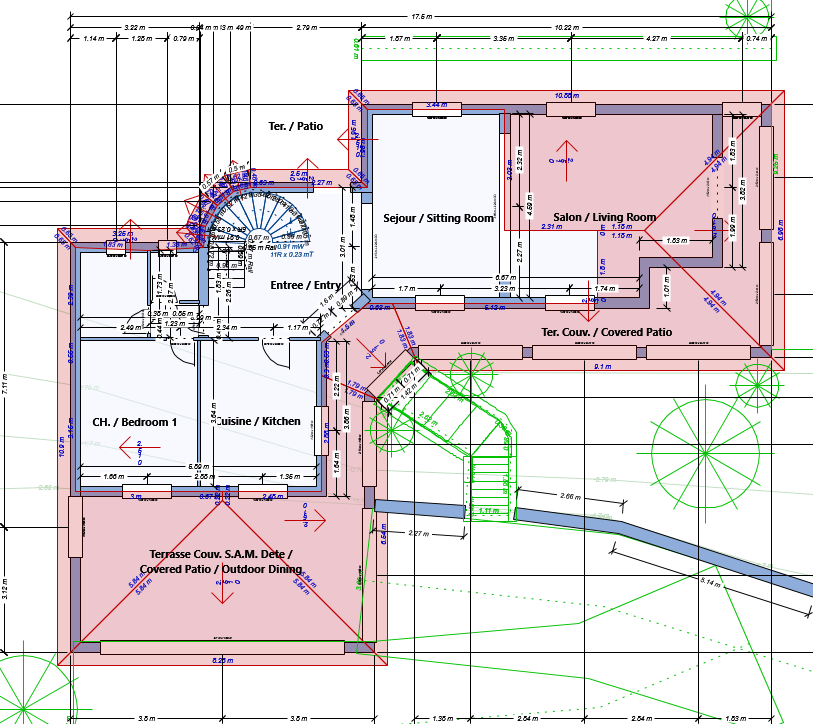
In the image below you can see the roof for the first floor, including some elements of the exterior area (optional).
Once the roofs are complete, you can add skylights, dormers, etc.
Step 3: if you have two or more floors, in order to create your full Roof Plan, select the roof elements in the second floor (for example), then go to Edit => Paste to Floor => First Floor.
Visualize the first floor.
Your Roof Plan will be ready.