


Tutorial · Architect 3D 26 for Windows
How to add doors and windows and define access between rooms
Updated · About 4 minutes
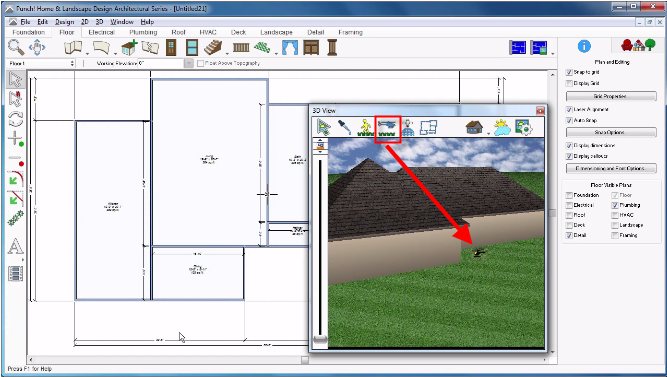
Written for Architect 3D 26 for Windows. The Mac edition has similar tools, though some menu names differ.
Doors and windows decide how people move through a house and how much light gets in. In Architect 3D you place them straight onto a wall, choose from a large catalogue of styles and set their exact size.
Step 1: Place a door
- On the Floor tab, click the Door tool, then click Door Style on the Properties tab to open the catalogue of doors.
- Choose a door and set its properties: Width, Height, Elevation and Trim. Press Enter after each value.
- Drag along the wall to position the centre of the door.
- Release the mouse and move the pointer to one side of the wall or the other to set which way the door opens.
- Click to place the door.
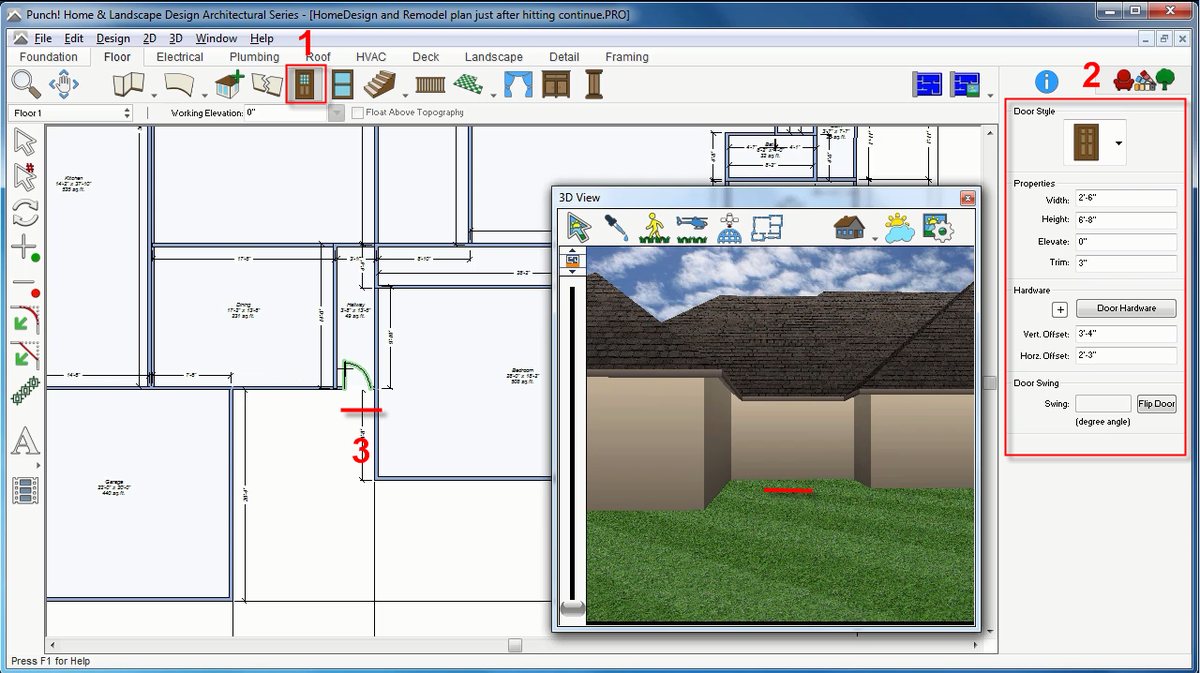
Note: Architect 3D remembers the size of the last opening you placed. Check the properties before placing the next one.
Step 2: Change the swing direction
- Click the Select tool, then click the door.
- On the Properties tab, use Flip Hinge Side and Flip Swing Side until the door opens the way you want.
Step 3: Move an opening
- Click the Select tool, then click the door or window.
- Drag it along the wall and click to drop it in its new position.
Step 4: Place a window
- On the Floor tab, click the Window tool, then click Window Style to open the catalogue of windows.
- Choose a window, then set its size and grille style. Press Enter after each value.
- Drag along the wall to position the centre of the window and click to place it.
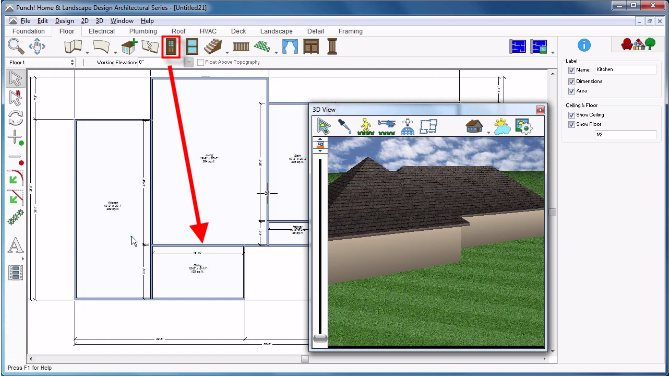
Tip: open the 3D View window so you see the plan and the 3D model together. It is the quickest way to judge where a door or window really belongs.
Save your project to keep the openings in place.