


Tutorial · Architect 3D 26 for Windows
How to draw a wooden mountain chalet with Architect 3D
Updated · About 12 minutes
Written for Architect 3D 26 for Windows. The Mac edition has similar tools, though some menu names differ.
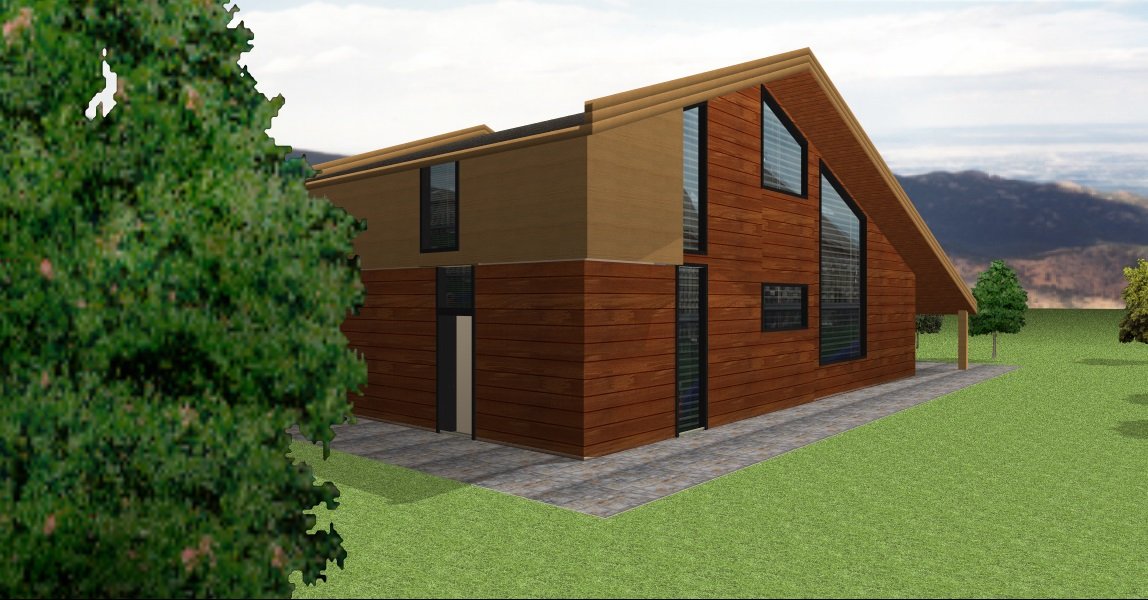
Dreaming of a wooden chalet in the mountains, for winter sports, summer walks and fresh air with family and friends? With Architect 3D you can draw the plan in 2D, see it in 3D and annotate it. This tutorial designs a two-storey chalet step by step.
Before you start, decide on three things, based on your family, your budget and your ideas: the floor area of each storey, the number of storeys, and the total number of rooms. Start with the ground floor, the most-used living space, and then move upstairs.
Step 1: Lay out the ground floor
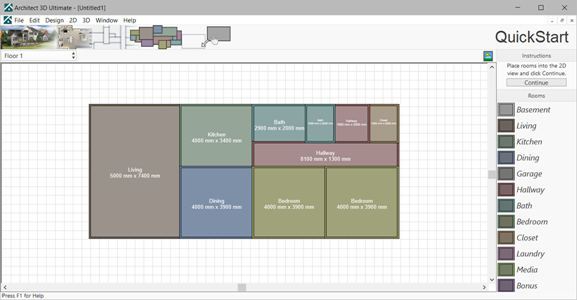
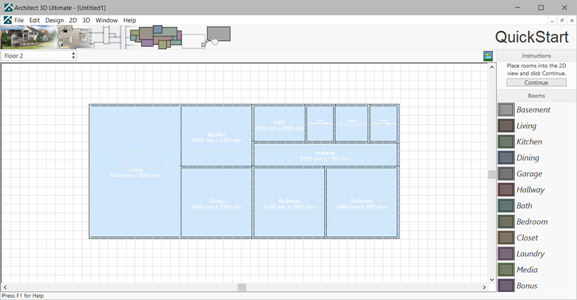
Start Architect 3D and use QuickStart to drag the rooms onto the plan. A rectangle is the most common chalet footprint. You can change the layout at any time.
Step 2: Set the floor heights and lay out the upper floor
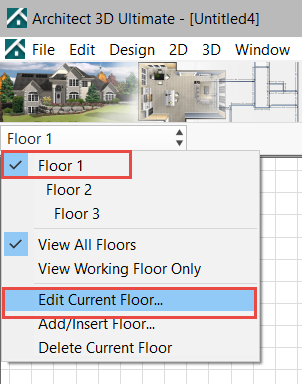
- Click Floor 1 and choose Edit Current Floor.
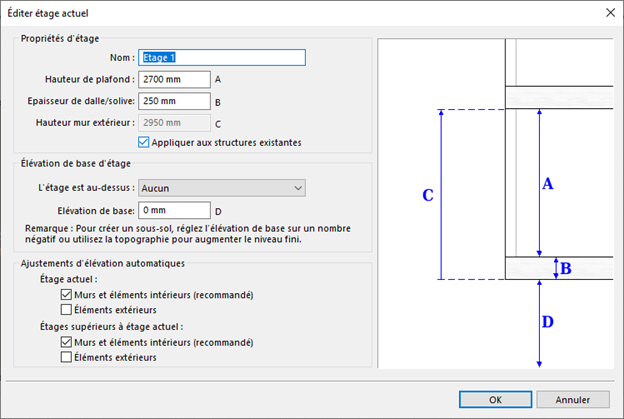
- Set the heights and click OK.
- Select Floor 2 and set its heights the same way. Repeat for each storey.
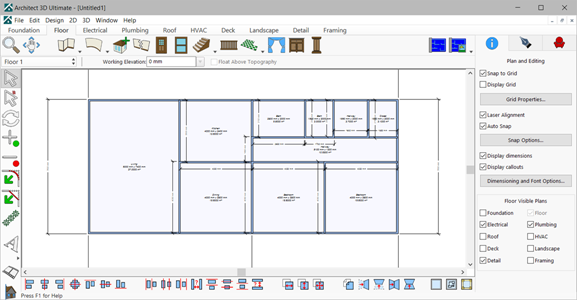
Now drag the rooms for the second floor onto the plan. The first floor shows underneath as a guide. You can name the rooms later. When the layout is right, click Continue at the top right to open the 2D plan.
Step 3: Adjust dimensions and wall thickness
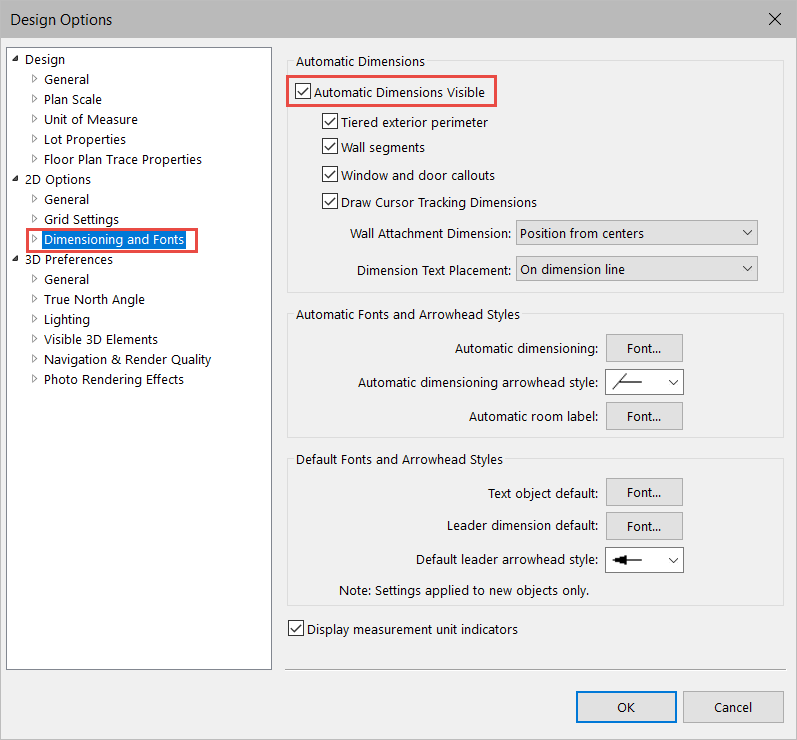
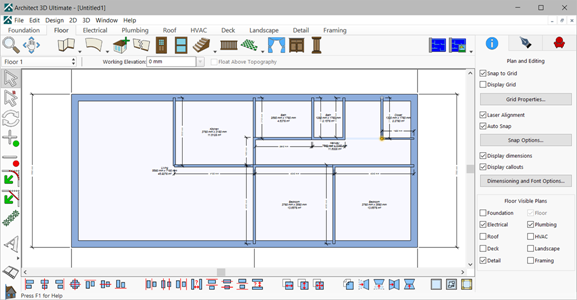
To place your own dimensions instead of the automatic ones, open Design > Options > Dimensioning and Fonts and clear Automatic Dimensions Visible.
QuickStart draws walls 100 mm thick. For a chalet you might use 35 cm for the outer walls and 12 cm inside:
- Select an outer wall.
- Change its thickness on the Properties tab and press Enter. All the outer walls change with it.
- Do the same for an inner wall.
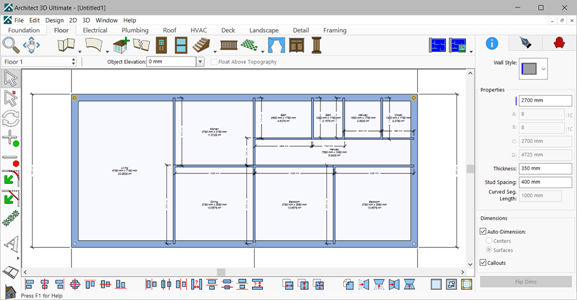
Tip: hold down Shift to select several walls at once. After changing thicknesses, drag wall ends where needed so the corners meet cleanly.
Step 4: Add the doors
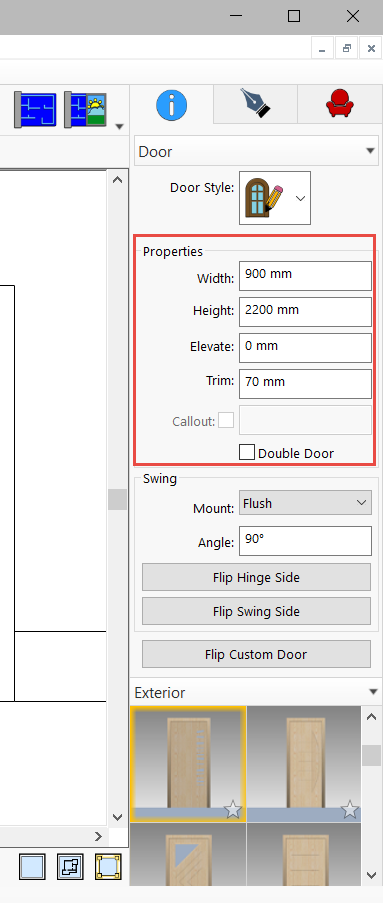
- On the Floor tab, select the Door tool and choose a style.
- Click on the 2D plan where you want it.
- Select the door, type its height and width and press Enter.
Windows are added the same way, but place the roof first so you can position them to suit its shape.
Step 5: Draw guide lines for the eaves
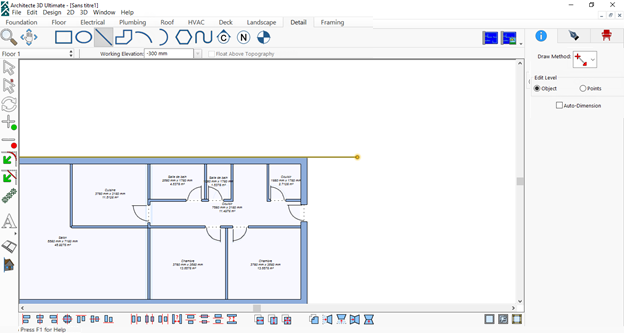
Chalets have deep eaves, so the roof does not follow the outer walls. For eaves 1 m deep, draw guide lines 1 m outside the walls:
- On the Detail tab, select the Line tool and draw a line along a wall.
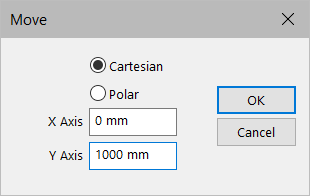
- On the Edit menu, choose Move.
- Type 1000 (mm) in the Y Axis field to move the line out.
- Repeat for each side.
Step 6: Place the roof
A two-plane pitched roof is typical for a chalet.
- Make sure Floor 2 is selected.
- On the Roof tab, select the Freehand Roof tool.
- Draw one roof plane as a rectangle along the guide lines: click each corner, then double-click to finish. Draw the second plane the same way.
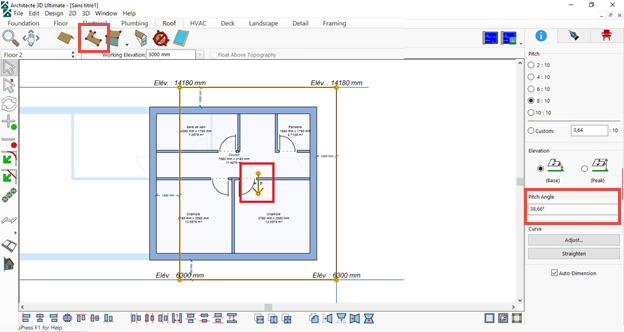
If a plane slopes the wrong way, rotate its arrow to change the direction, type the pitch you want and press Enter.
Now look at it in 3D. Working with a split 2D/3D view lets you edit and check at the same time.
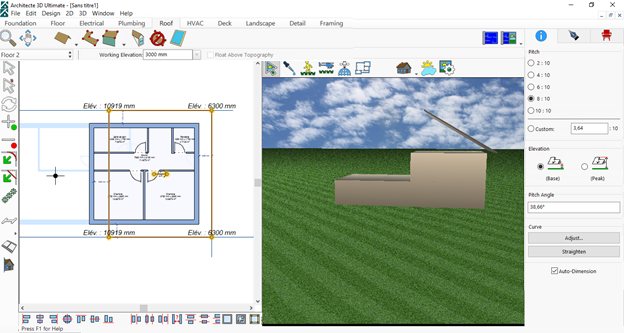
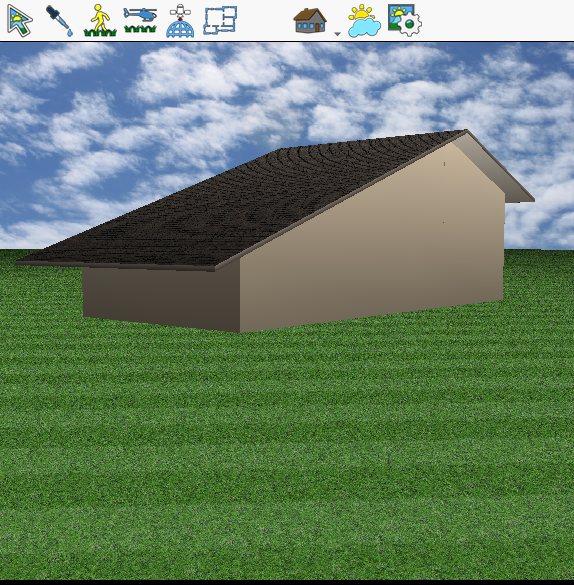
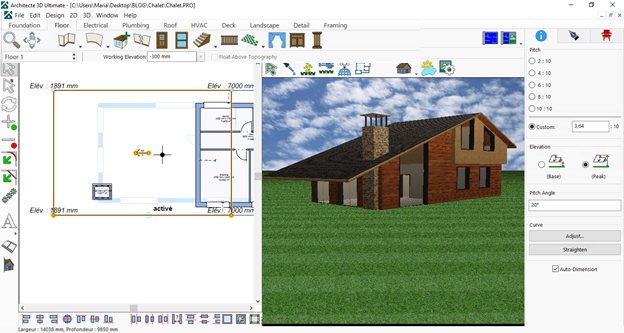
In this example the 3D view shows the roof is too high: its lowest edge is 6,300 mm above level 0. Lower it with the Object Elevation setting until both planes sit correctly, then delete the guide lines.
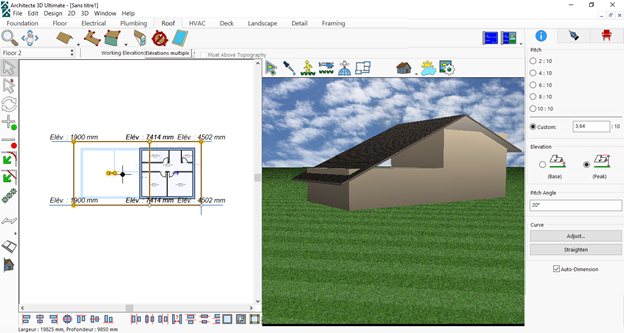
Step 7: Fit the walls to the roof
- Raise the walls of the upper floor so they reach the highest parts of the roof.
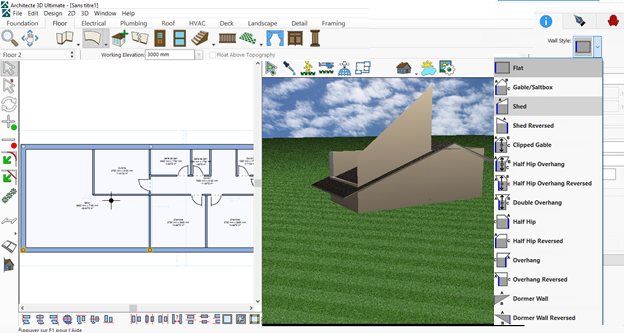
- Select a wall and, under Wall Style on the Properties tab, choose Shed.
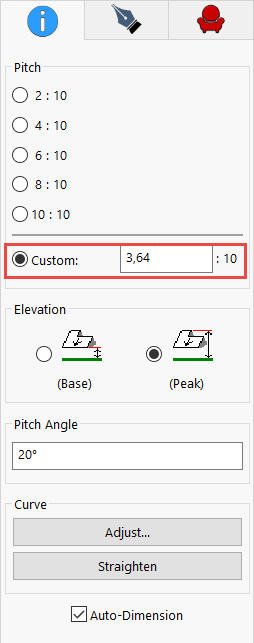
- Select the roof and note its pitch, 3.64:10 in this example. Select the wall again and enter the same pitch.
- Adjust the wall height, then repeat for the other walls.
Now add the windows, the same way as the doors.
Step 8: Add a chimney
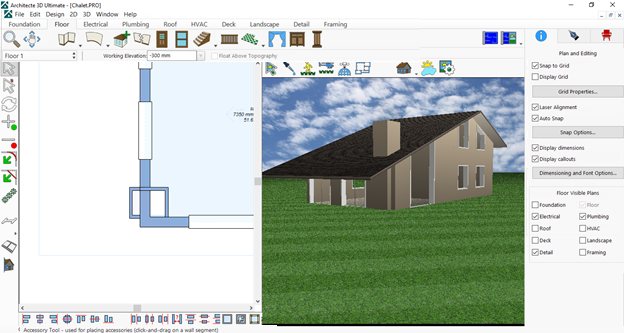
What is a chalet without a chimney? Draw it with the Wall tool.
Step 9: Clad the chalet in wood and stone
Open the materials library, pick a wood and drag it onto the walls in the 3D view. Then add stone to the chimney with the chimney finishes.
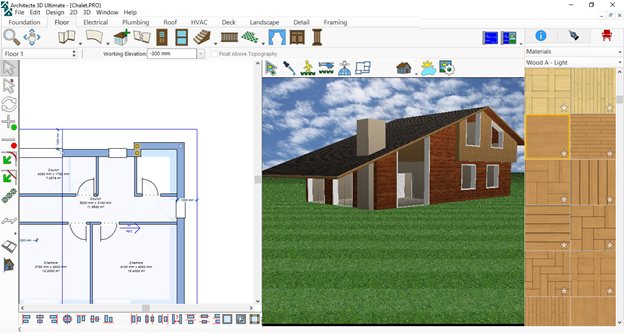
Change the colour of the doors and windows the same way, by dragging a colour from the colours library onto each opening.
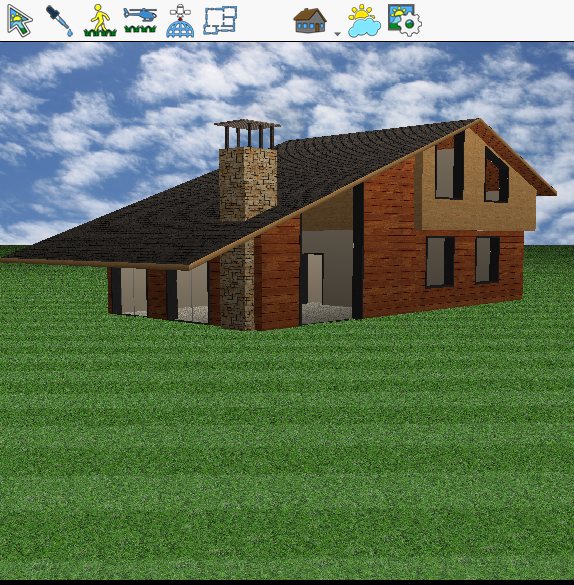
Step 10: Add a roof edge
- On the Roof tab, select a roof plane and choose Edit > Duplicate, with an offset of 0.
- Raise the copy slightly with Object Elevation (7,150 mm in this example) so it forms the edge.
- Repeat for the other roof planes.
Step 11: Columns, deck and surroundings
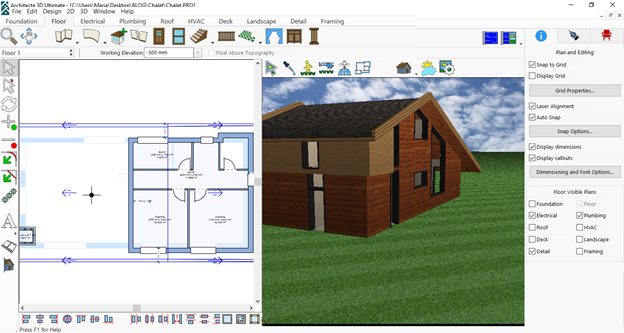
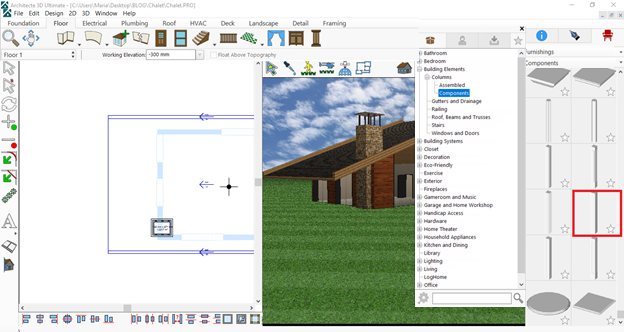
Add columns from the furnishings library under Building Elements > Columns – Components, for example Column Square Full, and apply a material. The pipette picks up a material already used in the 3D view, so you don’t have to look for it again.
The chalet should not sit straight on the grass. Use the tools on the Deck and Landscape tabs to add terraces and paths. Draw each area as its own piece if you want to give it a different material.
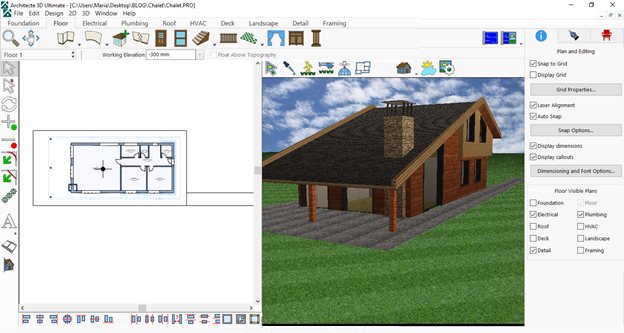
Step 12: Your plot and the façades
If you have photos of your plot, import them with the PhotoView PowerTool: Design > PowerTool > PhotoView Editor, then File > Import in PhotoView.
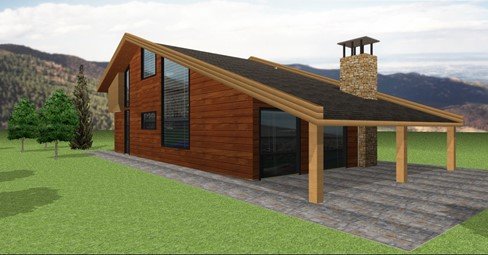
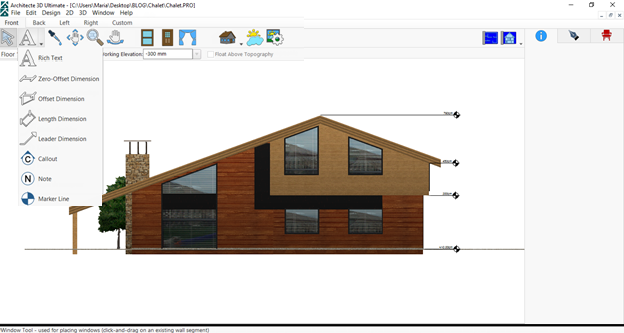
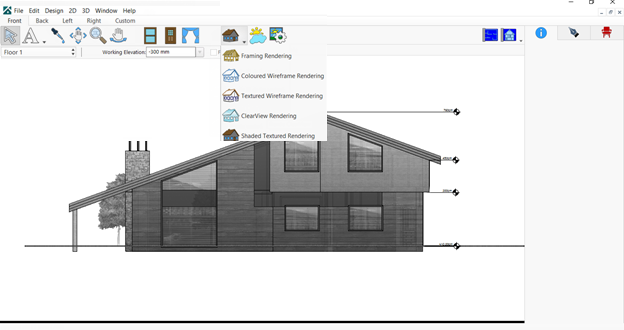
To draw the façades, switch to Elevation View, where you can add dimensions, text and markers. Choose the ClearView rendering style for a view without materials, and pick Front, Back, Left and Right for each elevation. The elevation tutorial goes into more detail.
And a log cabin?
You can design a log chalet too. The pieces are in the furnishings library, in the log home (wooden structures) section. The difference is that you build with these objects instead of walls, sizing each one to suit your project.